


Long, long ago in a land far, far away… ok, actually it was 5 years back. But some seasons do feel like eons ago.
What are dreams made of if you’re a skier or snowboarder? For most, it’s bottomless powder and bluebird skies! What is it worth? Are you willing to pay large sums of money…how about blood, sweat, and tears? For us, it’s the continuous goal. There’s just something about the lure of deep powder and blue skies. A few years ago the addiction was satiated by visiting the legendary Baldface. If you missed that trip report, catch up here. It was a trip of a lifetime, but it only left us wanting more. Since riding Baldface everyday isn’t an option, it was time to figure out how to obtain the same quality goods as many times as we wanted. It was after that trip we decided to venture into the backcountry to feed the addiction and got into splitboarding. Looking back at our splitboarding 101 adventure, the fantasy and reality of what backcountry skiing is are two different things.
No Room For Error
Before we jump into our first experience and some splitboarding 101 tips, let’s highlight a few things you should consider before venturing past the resort boundary. For starters, as you can see even we were mesmerized by the seduction of powder, but at the same time, we were acutely aware how dangerous it is. In addition to having the right gear (beacon, shovel, probe) and reading the avalanche forecast daily, we also suggest finding a backcountry mentor. The room for error is very small in the mountains so give it a wide berth for your first time out. To take a closer look of how we started backcountry skiing, head over to the following article:
And if you want to learn more on how to get started, find out what kind of gear you’ll need, or hear about our personal experiences like having a comrade break their leg in the wilderness, head over to our comprehensive backcountry guide:
Doin’ It Right Ain’t Cheap

This is the first thing that hit me hard. Sticker shock. You might think that going into the backcountry is cheaper than visiting a resort. After all you’re doing all the work yourself. Let us tell you, this is 100% wrong! Before even starting our journey, the financial hurdle of getting into splitboarding 101 was huge. Just the gear itself, a board, special bindings, skins, beacons and poles set us back a whopping $2,000 bucks each. Want to get gear on sale from a shop? Good luck. Backcountry gear is expensive and one splitboard is equal to the cost of two or three regular snowboards. Outfitters normally don’t keep much stock, so the inventory is typically thin. This means that it goes on sale rarely, and if it does, it most likely won’t be in your size. In the end, the lure of adventure and fresh snow was too strong. We figured out a way to clear the huge entrance fee hurdle and went for it!
Preparation

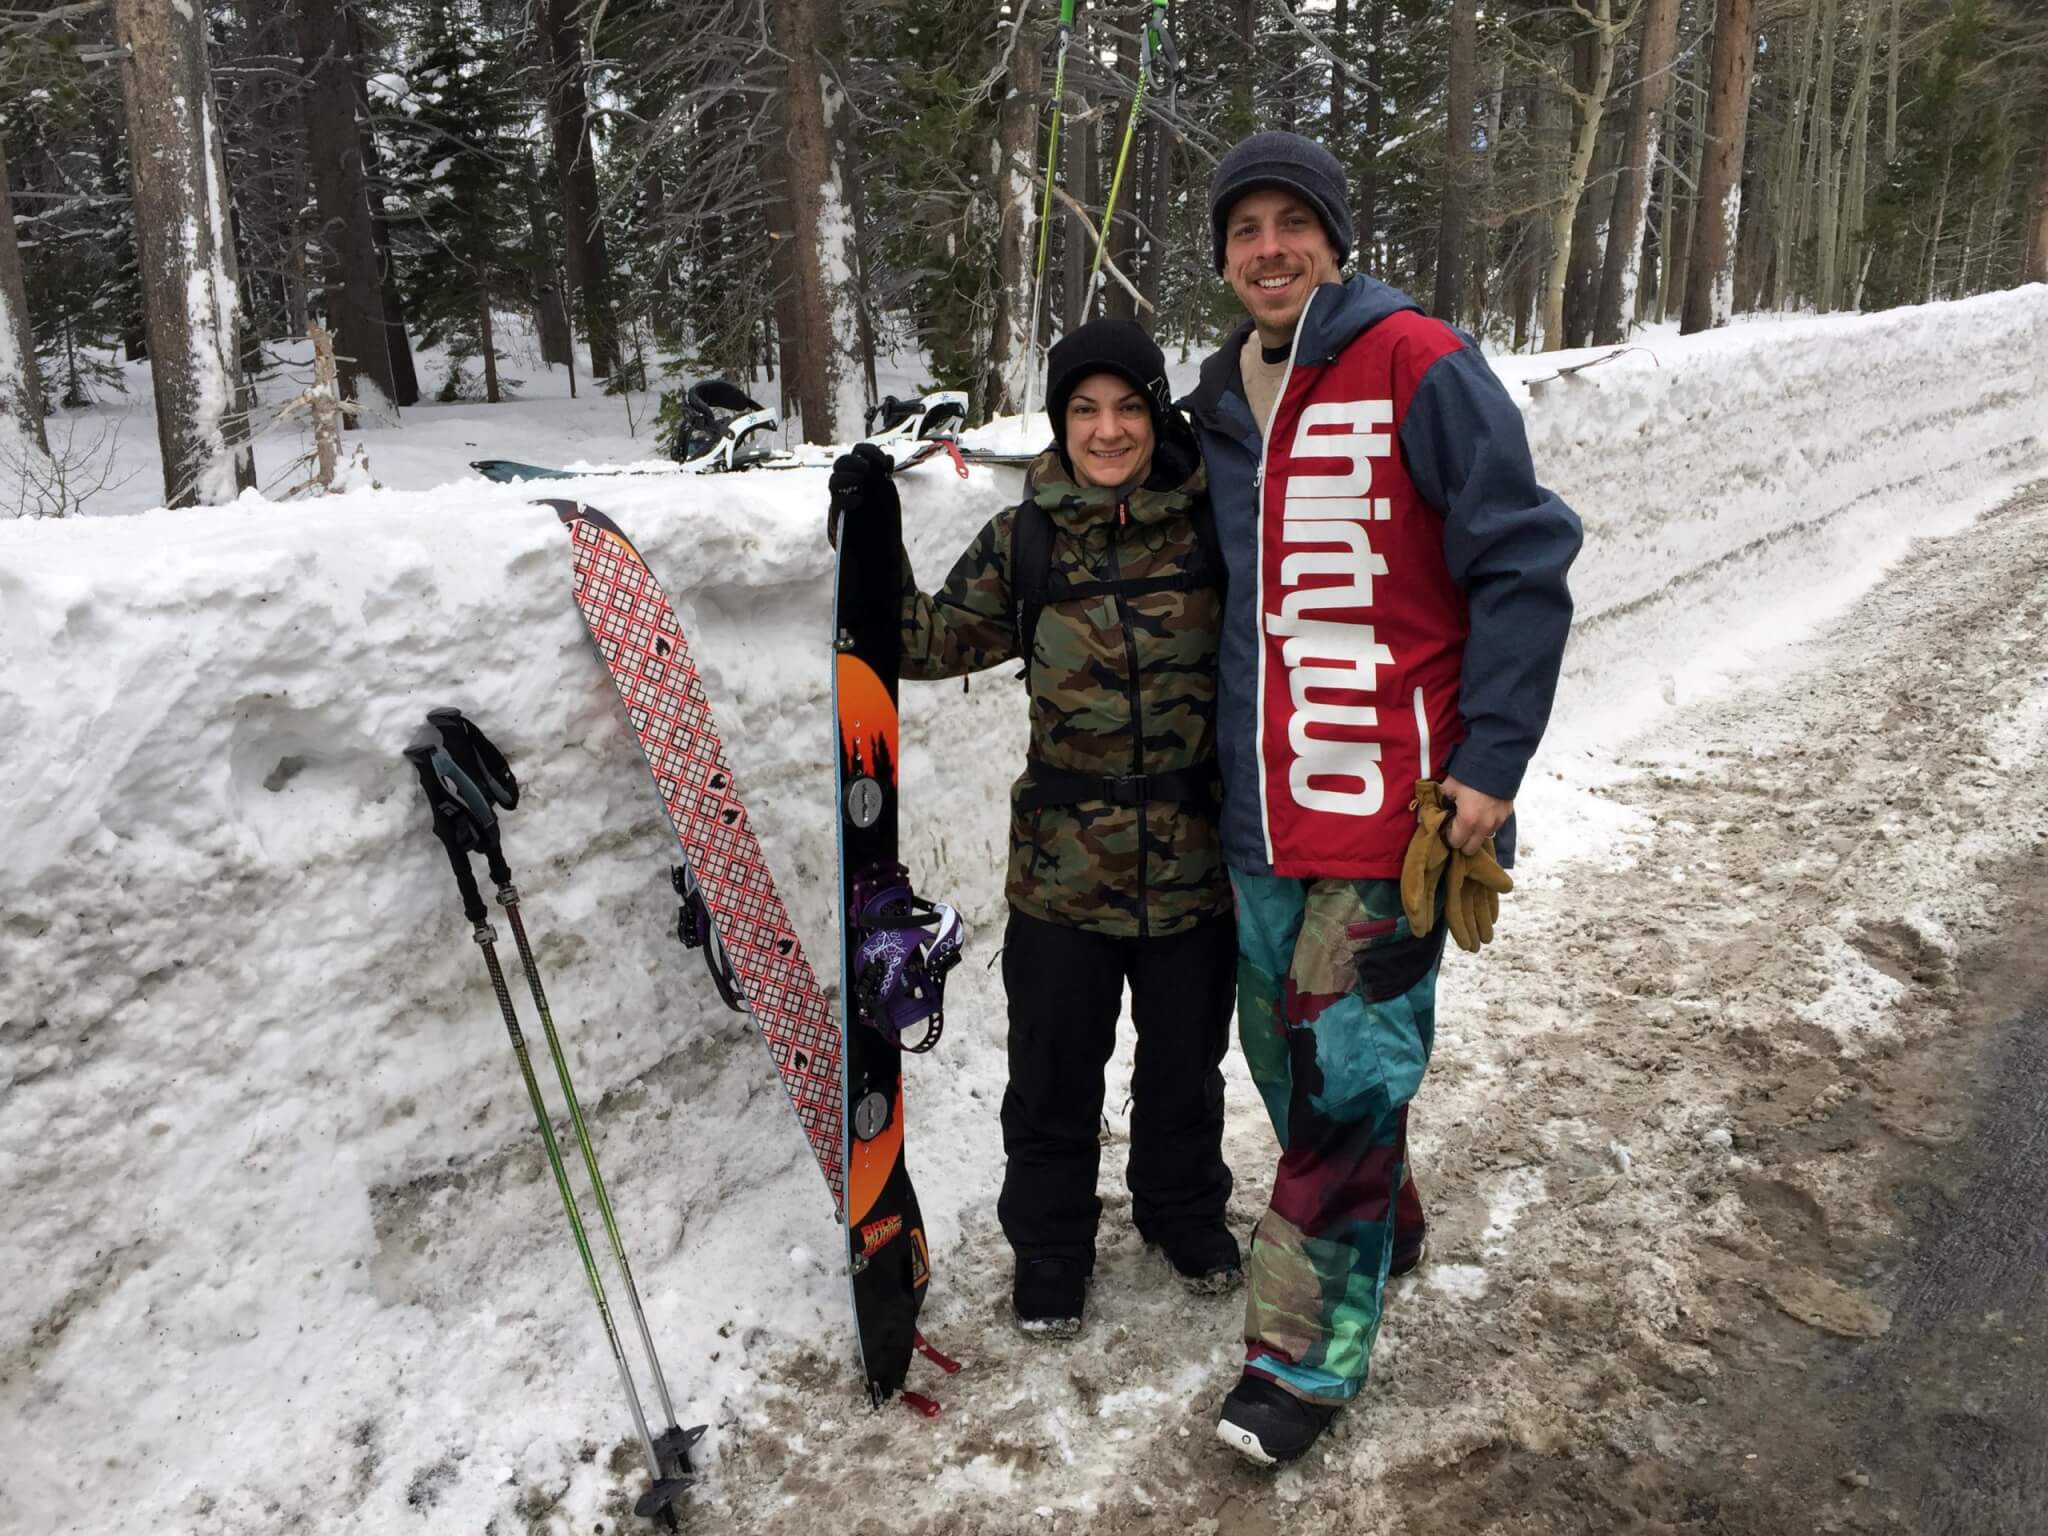
Standing over our new Smokin splitboards the night before, it seemed alien in comparison to the typical snowboard gear you would use at a resort like Kirkwood. Fortunately, half of the Local Freshies® crew had done this before so with his knowledge and a guiding hand, we setup our boards. Here are a few splitboarding 101 tips from our evening of gear configuration:
- Do it yourself. This isn’t like being in a ski resort. If you don’t know how your gear works, you can get into trouble pretty quickly out in the wilderness.
- Do NOT take off the backing prior to cutting your skins and stretch them super tight. If you remove the backing and make the cuts incorrectly, someone with a smaller ride will be getting a free pair of skins.
- Be patient. If this is your first time setting up a splitboard, give yourself enough time. It will take a while to get used to the hole configuration and how the binding fits in ski mode. Plan on at least an hour or two.
- Play with your gear at home. Before you even take your first step into the backcountry, practice splitting the board and putting it back together. It’s a lot easier to get frustrated at home compared to being on top of a mountain with the wind howling and your fingers getting frost bite.
- Get some rest! Once our gear was set, our fearless leader made the call to hit the pillows. It is really important get a good night’s sleep.
Choosing A Low Consequence Zone
Since my wife and I are beginners, we didn’t want to make our first journey alone. Safety is the most important thing to think about when going out on your own. We needed someone with experience. For us, that was easy since the Local Freshies® team has an experienced woodsman and avid outdoor enthusiast who’s been climbing and riding the Lake Tahoe backcountry for the last five years. Before we even stepped out of the house, we made a plan of where we were going. We chose a spot that was close to the road, a moderate vertical ascent, and a low angle 25 degree slope. Perfect for beginners who are getting into splitboarding 101. Next, we check the avalanche conditions. In Tahoe that means reading the avalanche report provided by the Sierra Avalanche Center. Given the aspect, slope, and snow conditions the report said the chances for a slide were relatively low. In addition, this region is well gladed. Plus, we were close enough to the road that if something did happen, we could at least head back to the car easily.
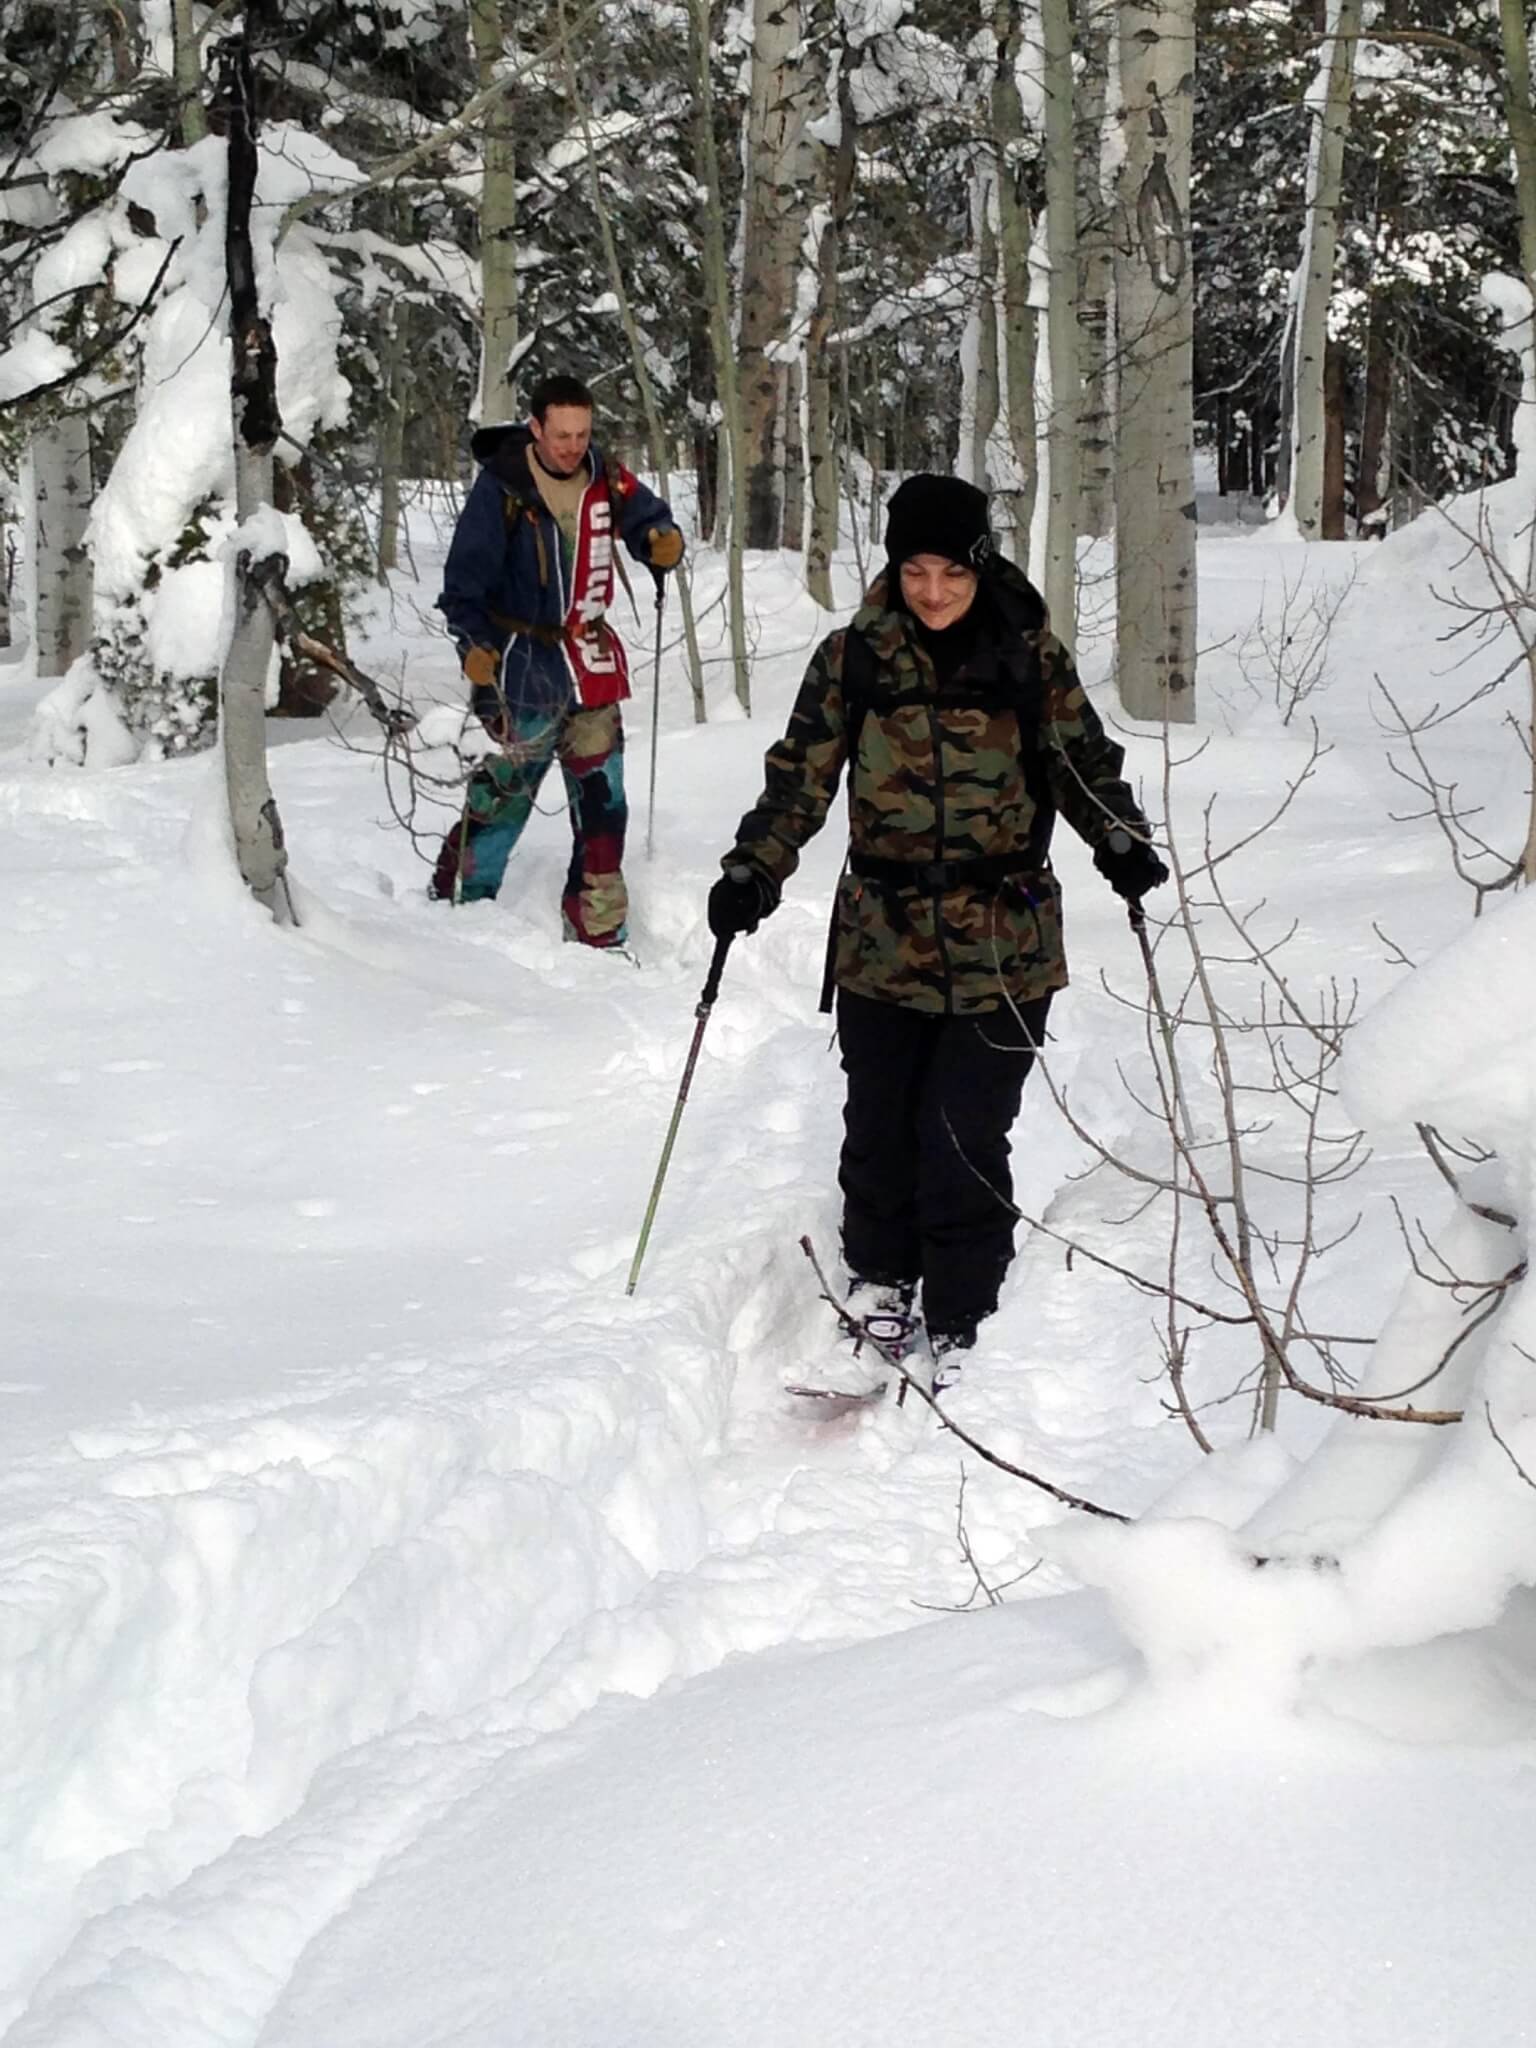
The Journey Is Slowed Before We Even Begin
Just as soon as we pull out of South Lake Tahoe and veer onto Highway 89, we were stopped in our tracks. The major rush back to the Bay Area from the long Christmas holiday had backed up traffic significantly. Getting a bit stressed and frustrated, we finally made it through and reached our destination. We geared up, left the trailhead, and strolled into the forest. As quickly as we had left the roadside, the trees suddenly began to thin. In front a massive snow covered meadow appeared. Standing there for a moment, we took in our surroundings. The quick transition from all that traffic on the highway to this peacefulness and serenity was invigorating.
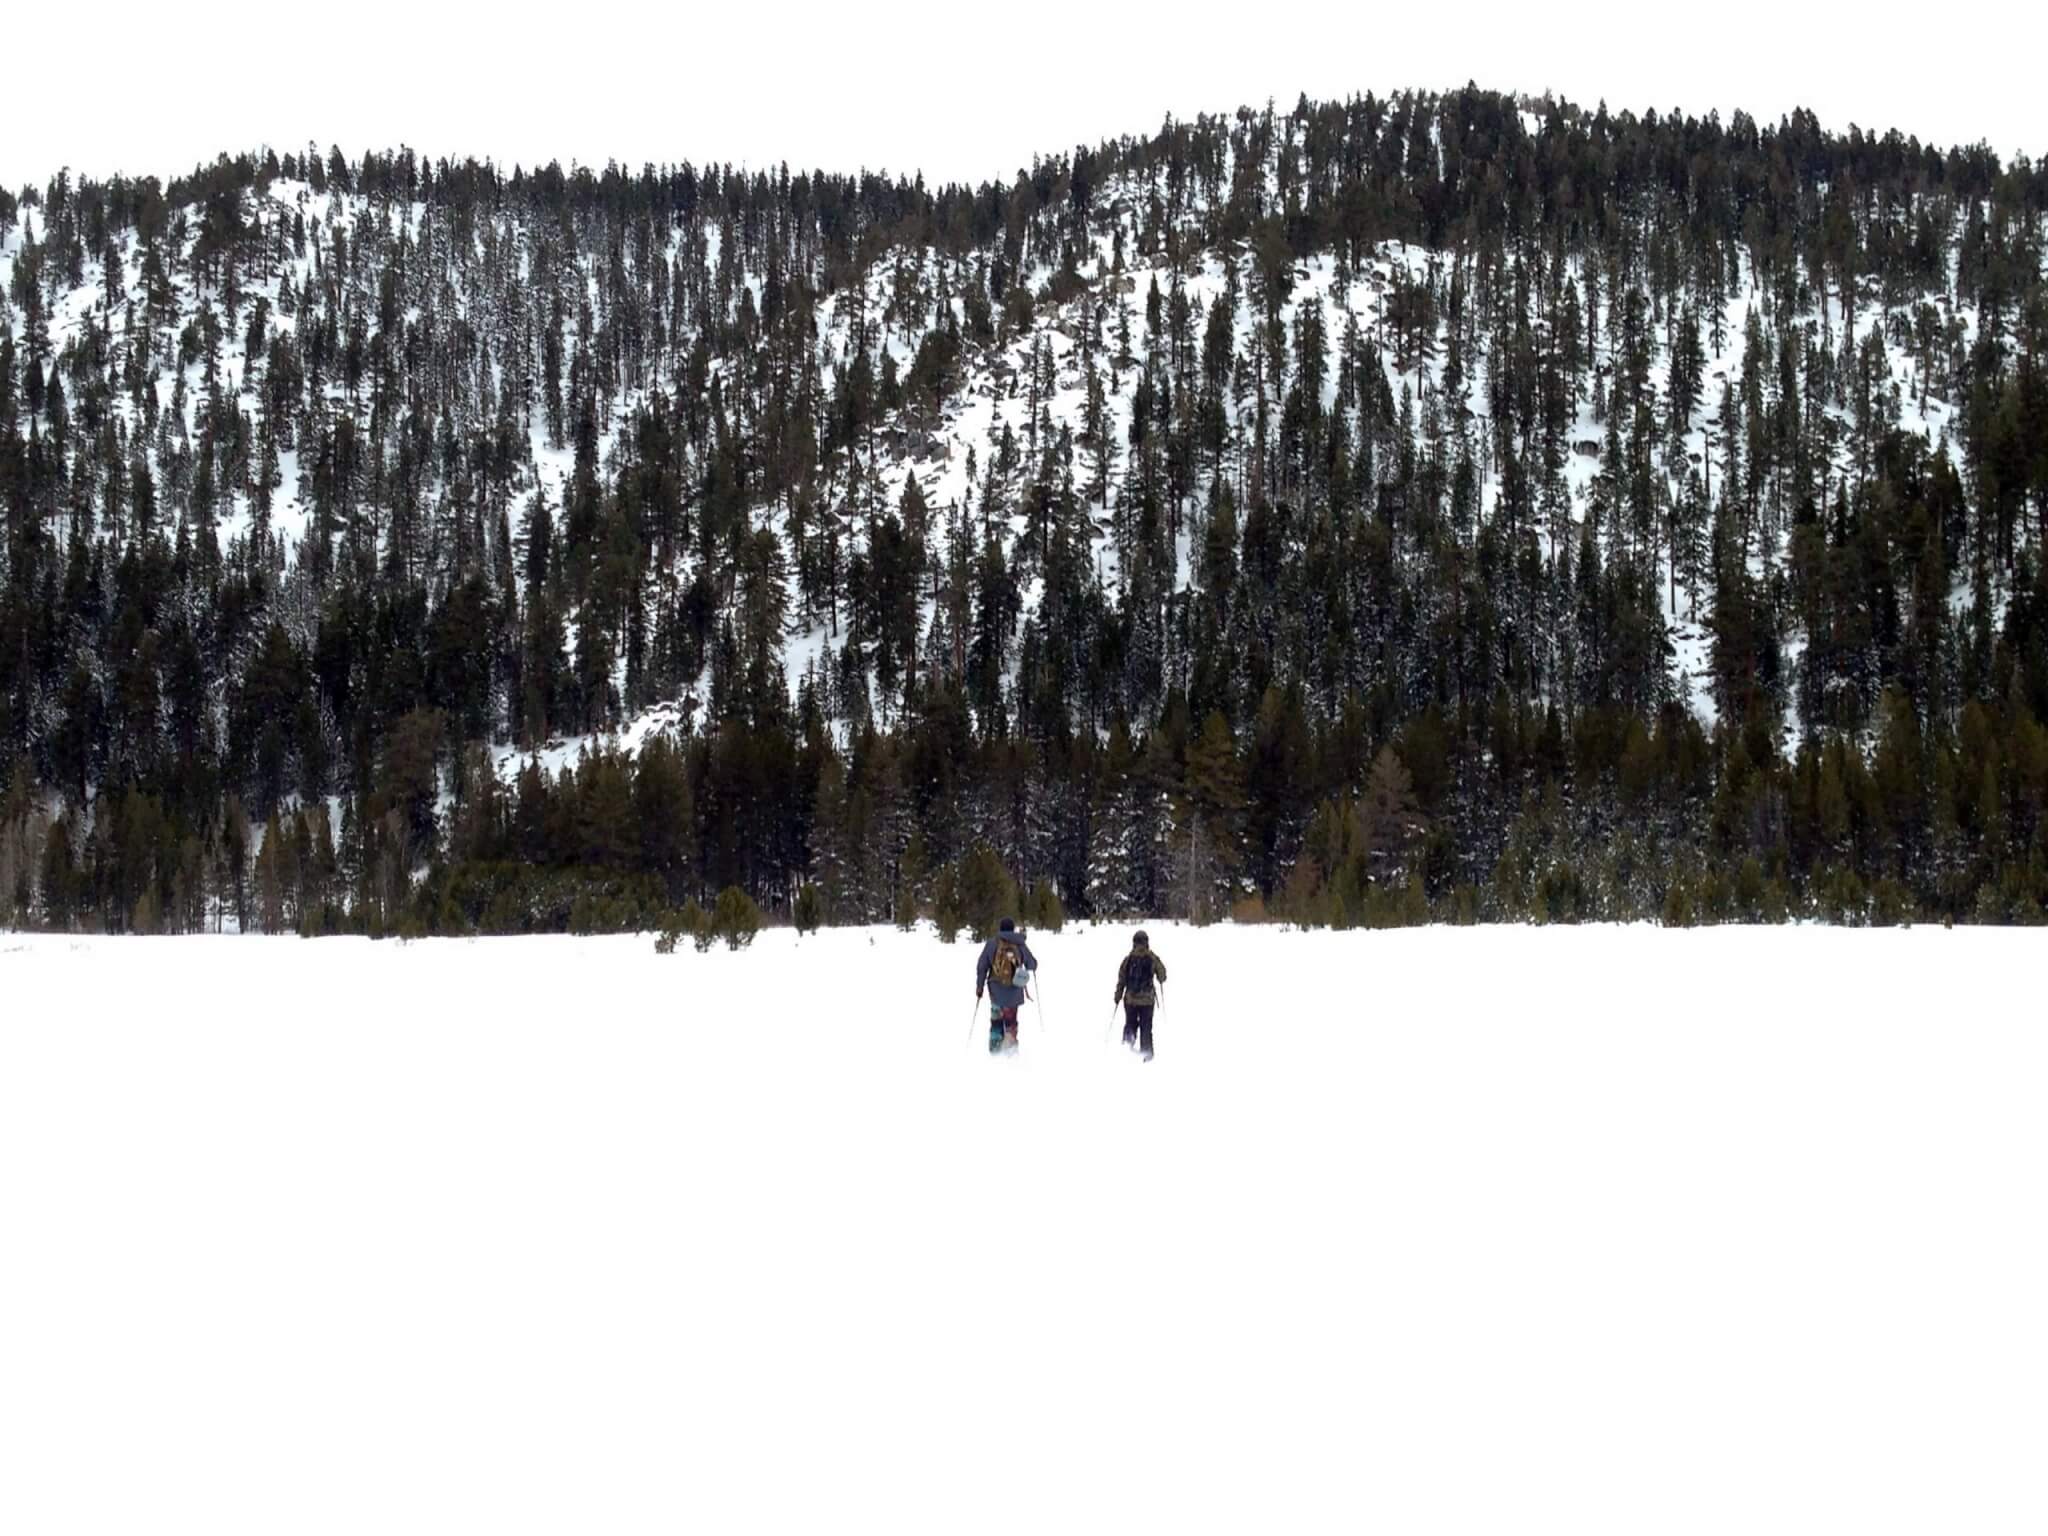
Our Mt. Everest Looms
Looking beyond the meadow, we saw what seemed to us beginners as Mt. Everest. This “massive” peak loomed high above our heads taunting us. It felt as if it said, “Ha! You can’t climb me!” With a big gulp, we proceeded forward nervously following Shane as he broke trail over the meadow and to the base of the mountain. In what seemed like only a few minutes, we were on the slope zigging and zagging our way up from the valley floor. After stopping for a quick break, I realized we were already hundreds of vertical feet from the base and halfway to the summit.
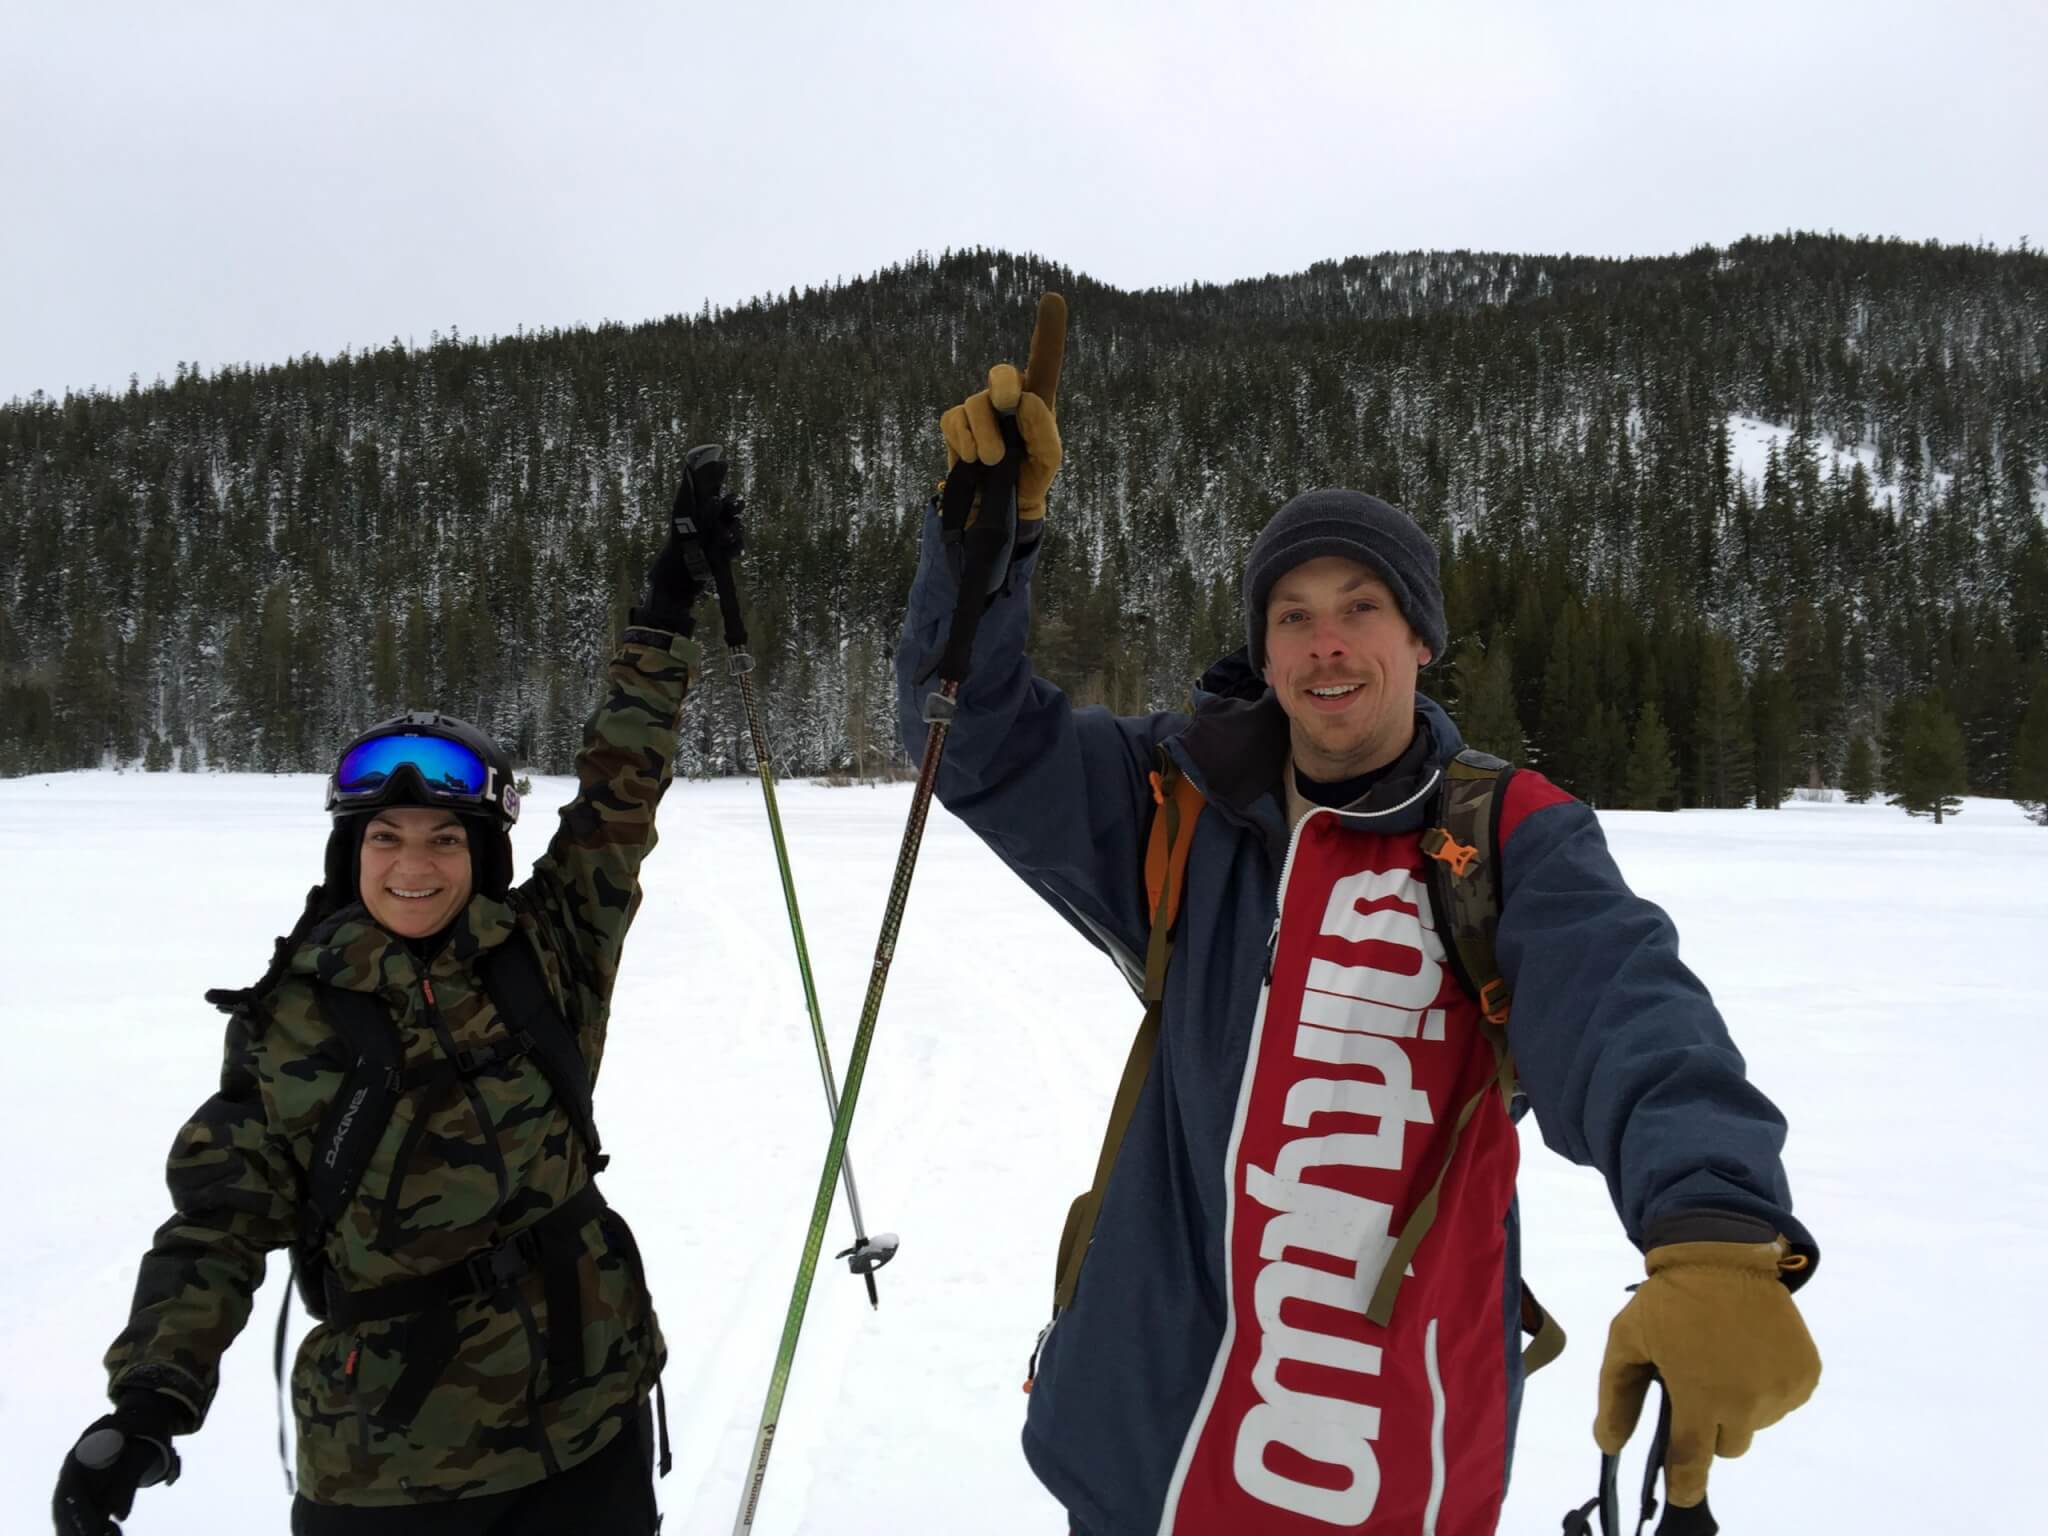
The Summit Is Calling… And I Must Go
Onward…we continued to climb trying to imitate Shane’s every move and reduce our exertion. After what seemed like a short period of time, we stood atop the peak. Clouds were beginning to roll in and there was not a single person in sight! Looking down at a heavily gladed and untracked descent, we were all smiles. It felt like mission accomplished, and this was our reward. Switching our gear back to snowboards, we rode our way down through the bottomless pow. Each turn came easily as we floated our way down.
Splitboarding 101 Tips From Our 1st Journey
After our journey, here are some helpful splitboarding 101 hints we picked up:
- Shuffle your feet. When skinning your way up the mountain or across a valley, don’t lift your legs. Instead, slide and scoot your way across the terrain to save energy.
- Dig your heel in. When going up-hill, lift your toe and put the pressure on your heel. This will make sure the skin fibers maintain traction as you walk up the face of a mountain.
- Don’t lean forward. When skinning up steep slopes, you will naturally want to lean forward. Doing so will only make things worse, and you will slide backwards. Keep your weight back over the center of your skis. This will allow for the most contact with the snow, which will ensure your skins are fully gripped.
- Pick your line when going up. Just like snowboarding down a mountain, picking your line up the mountain is key. Things like trees, boulders, and bumps need to be taken into account when you zig-zag your way up. You want to gain altitude without exhausting your party.
So, Is Splitboarding For You?
Do you love snowboarding or adventure? Are you into being in the woods or would you rather get a ton of vertical in? What I personally came to realize is backcountry isn’t about the descent or even skiing or snowboarding. It’s a completely different activity. What seemed like only a few minutes of labor was in fact two hours of work for a 5 minute run. It was definitely a fun day, but did I fall in love with it? Personally, I have grown to enjoy splitboarding more over time. I’m not sure it will ever be my primary love though. For me that’s snowboarding downhill. If the snow is good, you will probably find me in the resort. On the other hand, if it hasn’t snowed in a week, a journey into the unknown is way better than a day schussing on ice.
Five years after our first Splitboarding 101 journey, we still feel the same way. In the end, if you want to go snowboarding or skiing in endless crowdless powder, spend the money and go heli-skiing or cat-boarding. But, if you want to have adventure and do something that most people won’t ever do, then heading into the backcountry is an awesome option. Do it the right way though. Gear, education, safety, mentors… Over the years, we’ve had some pretty nerve-wracking experiences in the backcountry that have really knocked the sense into us:
