


If you live in a ski-town, chances are the season is over or almost over. A few resorts scattered across North America are still hanging in there, but for the most part things are winding down. Bummer right? It sucks to be throwing in the towel this early. I agree. So, what’s the answer? Well, the answer is don’t! That’s right…DON’T! Mother Nature can flex her muscle and act like she’s a badass melting all our snow if she wants. That won’t stop us. That’s sounds great, but how do you keep winter alive? How do you get every last little bit out of the white patches clinging to life on the mountain tops?
Two words…Booter barbeque!
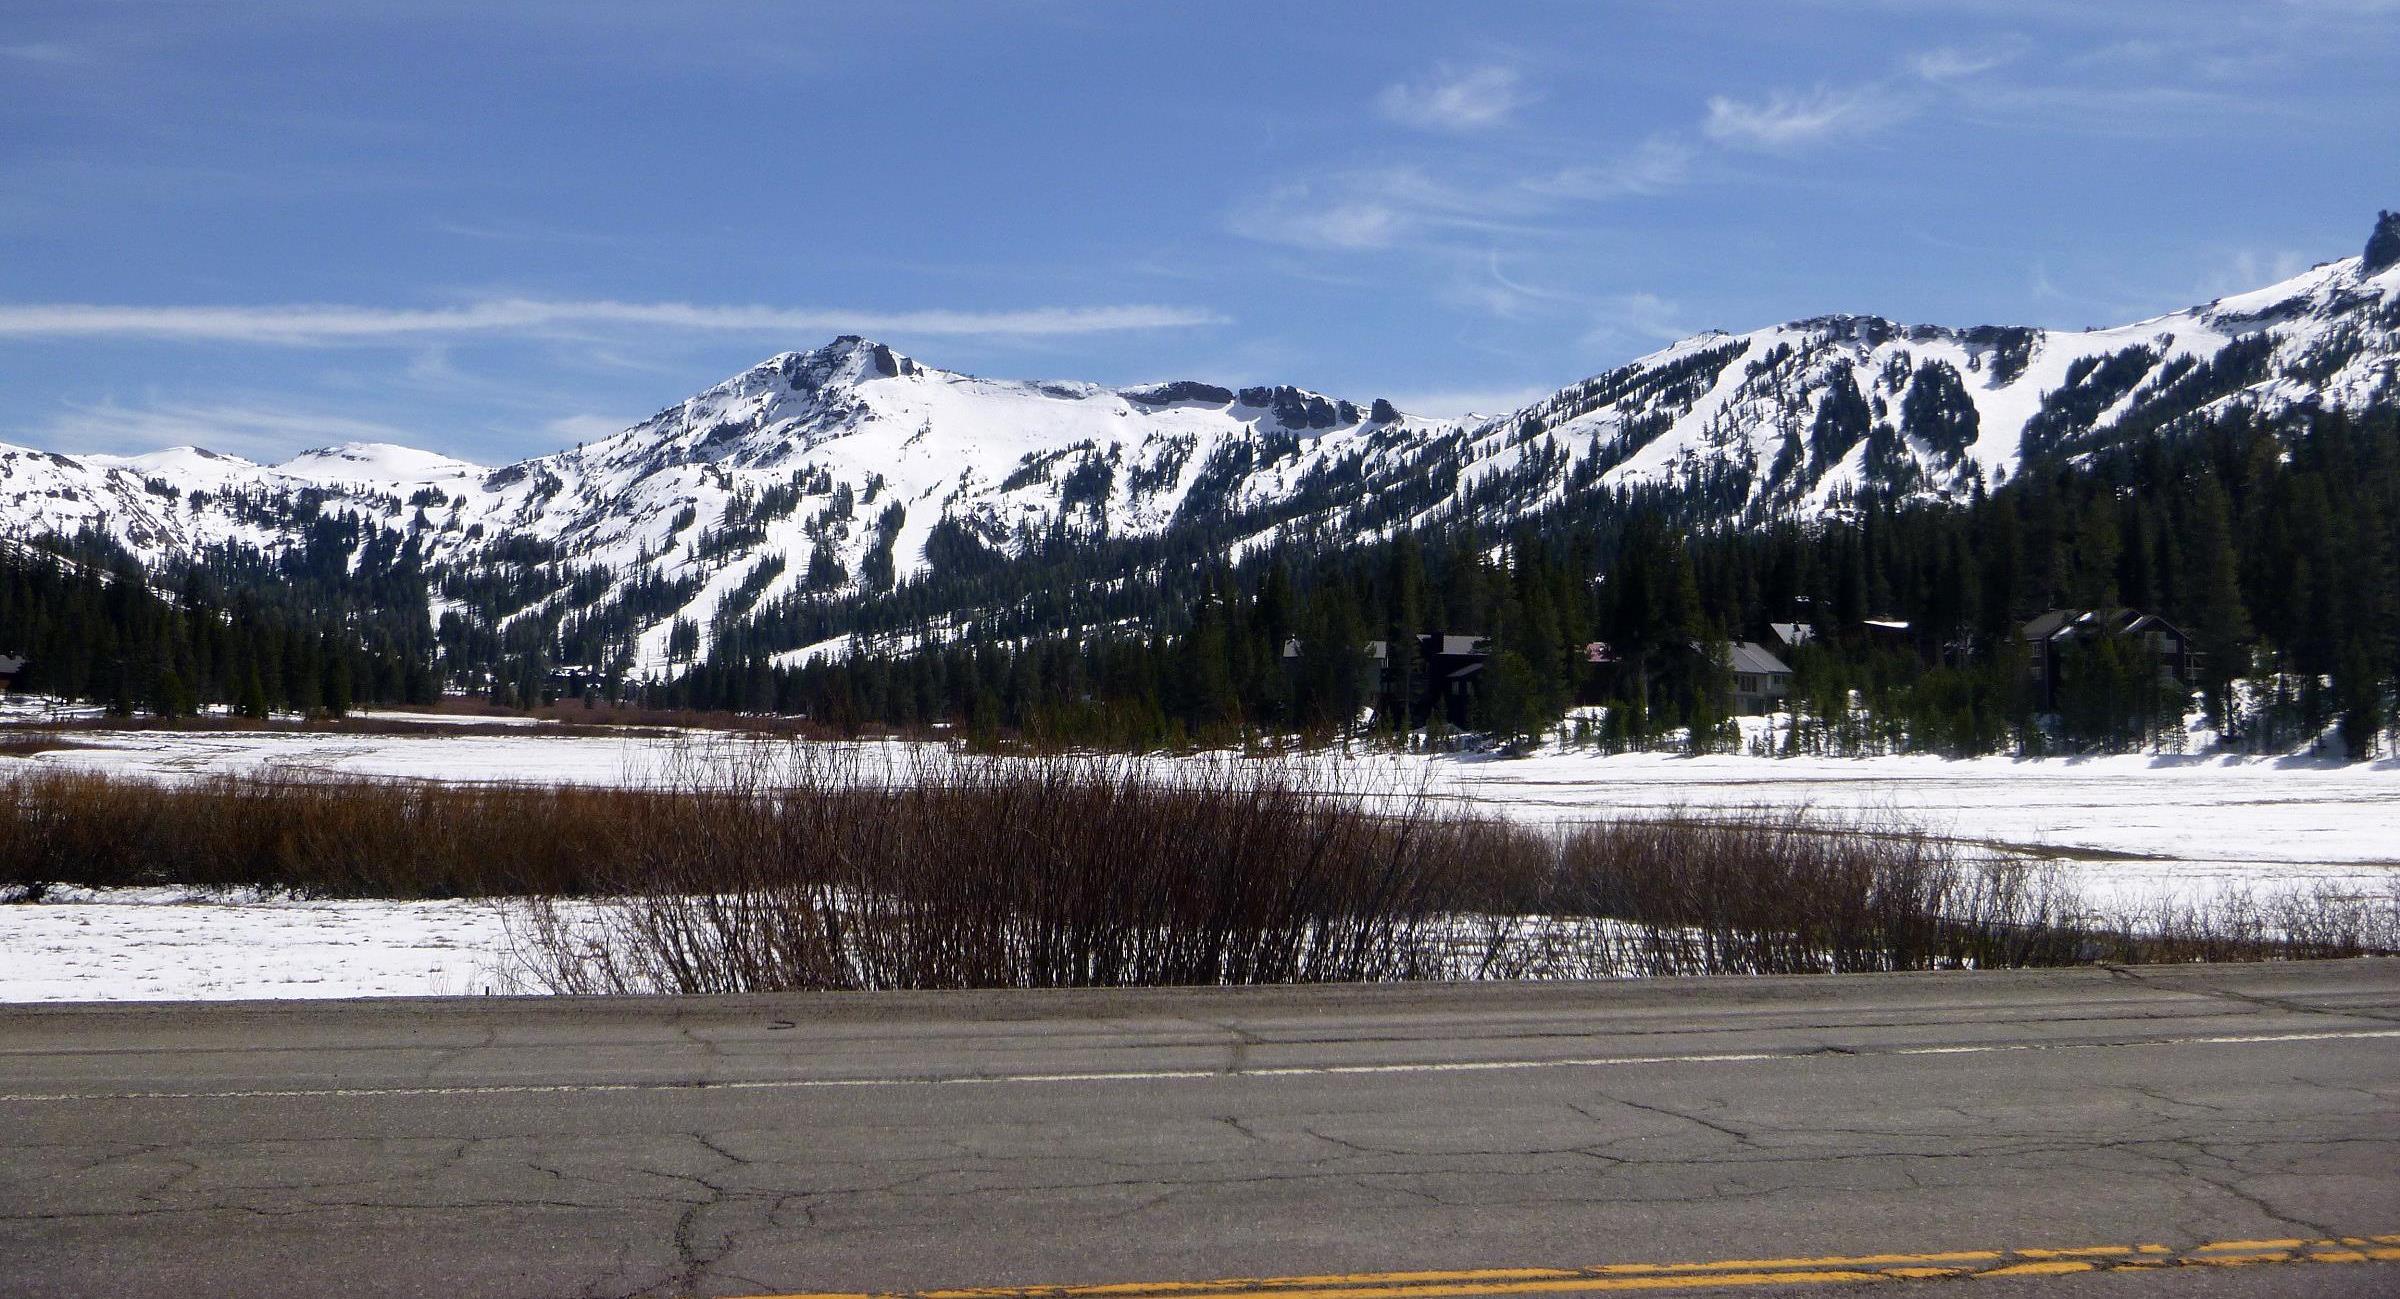
Booter or kicker, like tomayto or tomahto it’s all the same. To get started, round up the gang, grab some choice food & beverages and head for the high country. Find a spot with a decent amount of snow. Something north facing will probably be best. The deeper the snow the better!
1. Pick the right location for your jump.
Like real estate building a jump is all about location, location, location! The run-in, the spot where you build the kicker, and the landing are all critical to make a perfect jump. Look for a steep hill with a 35-40 degree slope. Give the run-up about 30-50 feet before you hit the kicker. This will ensure you have enough speed going into the jump and make the landing easier. If possible, look for an area that has a flat spot right before the landing so that it makes it easy to setup for that sick trick you’re about to pull. Most importantly this late in the spring the landing should be steep as well to make sure that if you do fall it won’t hurt as much.
2. Start shoveling.

Any shovel will do when building a kicker. A good example of a shovel you could use.
Ok, you’ve found your perfect spot. What’s next? It’s time to start shoveling. Begin piling snow where you want your ramp. One thing to consider is it will take A LOT more snow than you think you need. Once you begin packing it down and sculpting the snow it will shrink quite a bit. Also, take the snow from the sides of the jump not the front. You may need this snow to fill in bomb holes later on or smooth out the jump.
3. Start Sculpting – it’s time to be an artist!
Once you’ve got enough snow start shaping the jump. Take the back of the shovel and slap down the snow until the jump begins to become the way you want it. After the basic booter is formed its time to switch to your board. The board allows you to pat down the snow as well as shave any rough spots off so that it is perfect. Another thing to think about is to make sure that the jump is at least as wide as the length of your snowboard (about 5-6 feet). This will help make that you are balanced and comfortable going off the jump.
4. Build the run-in
Before you even take your first hit make sure that the entire path to the jump is smooth and will not throw you off kilter. There’s nothing worse coming in hot and hitting a bump causing you to get off balance.
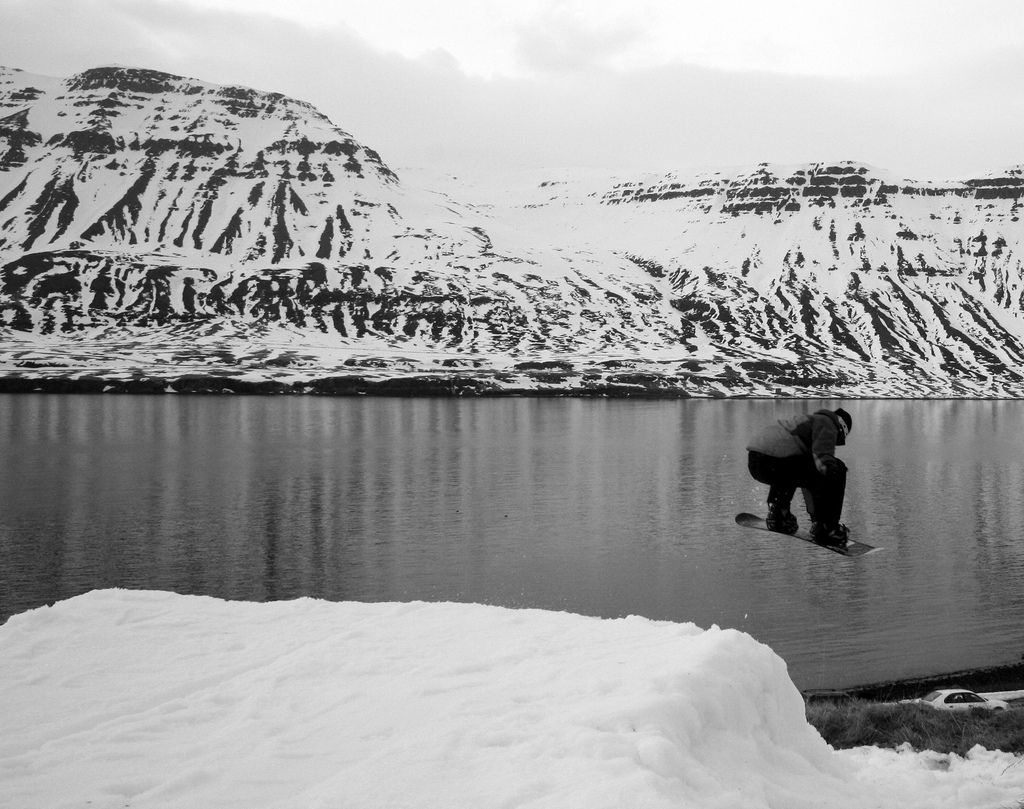
Location: Seyðisfjörður, eastern Iceland
Snowboarder: Guðmundur Jónsson
5. Launch it!
Now that everything is set. It’s time to start launching airs. A tried and true method to who goes first is play rock, paper, scissors. After the first guinea pig tries the jump it may not be dialed in yet. Just remember practice makes perfect. Keep tweaking and improving the jump until its just right for you.
Of course, after such a great session make sure that you brought the grill. There is nothing like a booter session with your buddies and barbecuing in the backcountry. Send us some of your pics of your booter sessions and we’ll throw the best one on our website.
And of course keep the faith! There is still enough to keep riding for a while at least.
