


For many of us, the season is wrapped up or just about to. Of course, there are some die-hards out there that will turn their attention to backcountry touring to get some corn skiing in. But for most normal skiers and snowboarders, it’s time to start thinking about other sports like mountain biking, paddle boarding, or even hiking. Before you start pulling out your summer gear, treat your winter stuff with a little bit of respect! Just remember, the worse shape you leave your gear in over the summer, the more it’ll cost you to fix next season. Here are some simple steps on how to store your skis or snowboard for the off season.
Summer Prep For Skis & Snowboards
Step 1: Wash Off The Gunk
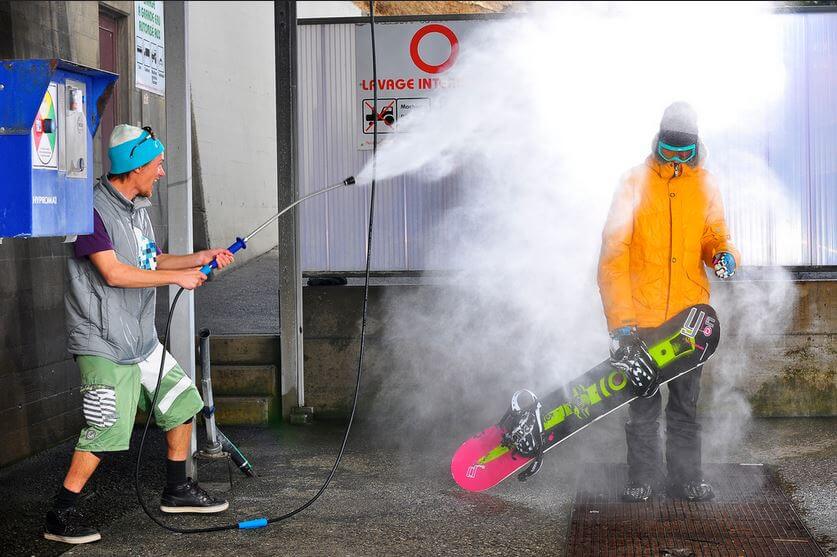
Like a good spring deep cleaning of your house, this is your time of year to get your shred sticks in respectable shape. Normally, the last runs of the season end up covering your board/skis in dirt, lift grease, and other stuff you don’t want to know about. So, take a spray hose and douse your board/skis, making sure to remove any of that visible gunk. Be extra careful around the bindings because high backs and bolts typically have some lubricant on them, and you don’t want to blast it away. Also, do NOT use degreasers or detergents on your equipment.
Step 2: Inspect The Base And Edges
Now that the decks are clean, it’s time to see what kind of shape your stuff is in. Before we even start looking at the overall condition, have you taken your board/skis into a ski shop to get your edges sharpened or even a full tune? If not, this is the perfect time of year to sharpen edges. There’s no rush, AND they can spend that extra bit of time and love on your gear. If you’ve already had your board/skis serviced, nice work! Your edges are in tip top shape, and you can skip to Step 4. But if not, let’s move onto Step 3.
Step 3: Time To Sharpen Those Edges
Flip your board/skis over, and let’s take a close look at those edges. Here’s a couple quick tests to see if they’re sharp:
Test #1: Take the back of your fingernail and scrape across the edge
In multiple spots across the edge, especially near the bindings, scrape your fingernail against it. If a bit of your nail gets shaven off, you know they’re in decent shape. If instead you just buffed your nail, they’re dull. Grab that edger, apply a bit of pressure, and take long smooth strokes across the entire length until they feel sharp.
Test #2: Feel across the full length of the edge
When you glide your hand across the edges, it should feel smooth and have no rust discoloration. If there are rough spots, it means you have a burr which can affect the way you carve. Pull out a deburring stone, making sure to keep it flat with the base and edge, and remove those rough patches until it’s perfectly smooth.
Once you’ve done this, take a rag and wipe off any metal fillings you created. This is especially critical before you start waxing.
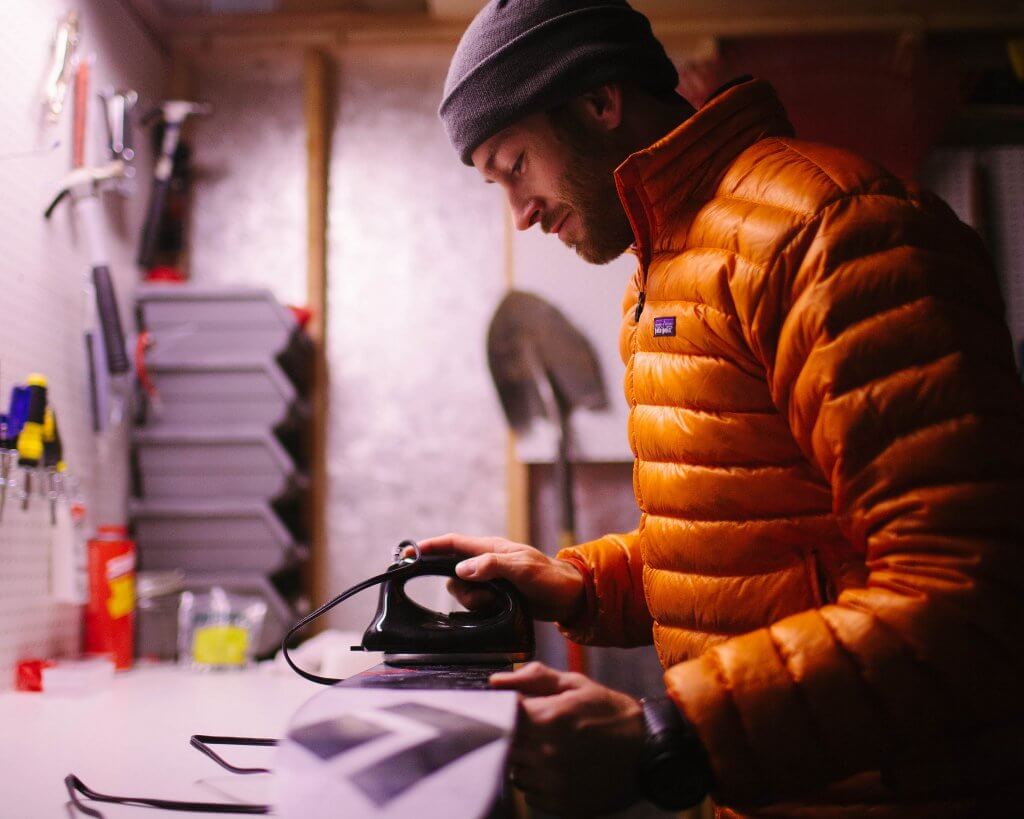
Step 4: Wax That Base
During the winter months, you usually apply a single coat of wax and call it a day. This time of year, put a little bit more effort into it.
Hot Scrape
Instead of using a citrus solvent to clean off the dirt, pollen, and grime, you should do a Hot Scrape. A Hot Scrape is when you scrape the board/skis before the wax is 100% cooled.
- Grab that scraper and lightly scrape the base removing any dirt that might be lying on the top.
- Next grab a soft metal brush or one made from a material like nylon, further removing any other dirt that is ground into the base. Quickly wipe the board/skis with a clean dry rag.
- Turn on the iron and use a CHEAP soft wax, heating the wax just enough so it’s melted on top of the board/skis. The wax should go from a hot, glossy looking liquid to a soft, still-warm solid phase with a matte finish. This will PULL the impurities right up to the surface. If you haven’t done this before, you’ll see an obvious discoloration where the dirt is suspended in the surface wax.
- Now, this is the KEY… DON’T let it cool down! Instead, grab the scraper and start removing as much wax as possible.
- It’s OK if you don’t do it perfect the first time. If you’ve never done this process before, you might have to do it a couple times before the wax scrapes off clean.
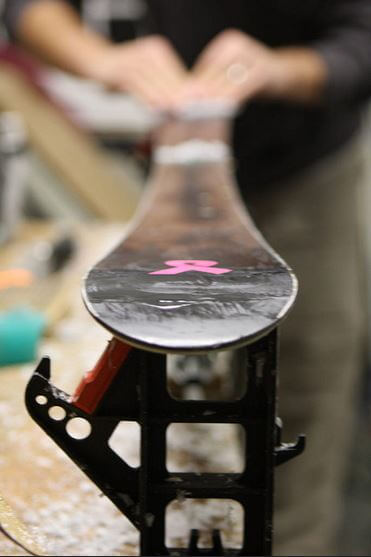
Hot Wax
Now that the base is actually clean, it’s time to put on the final wax. Instead of the soft wax we used for cleaning, it’s time to grab the all-temperature wax, and iron it on. Since you’re storing your gear for the summer, don’t scrape this wax. The extra layer of wax will keep your base from drying out over the summer.
Step 5: Release The Stress
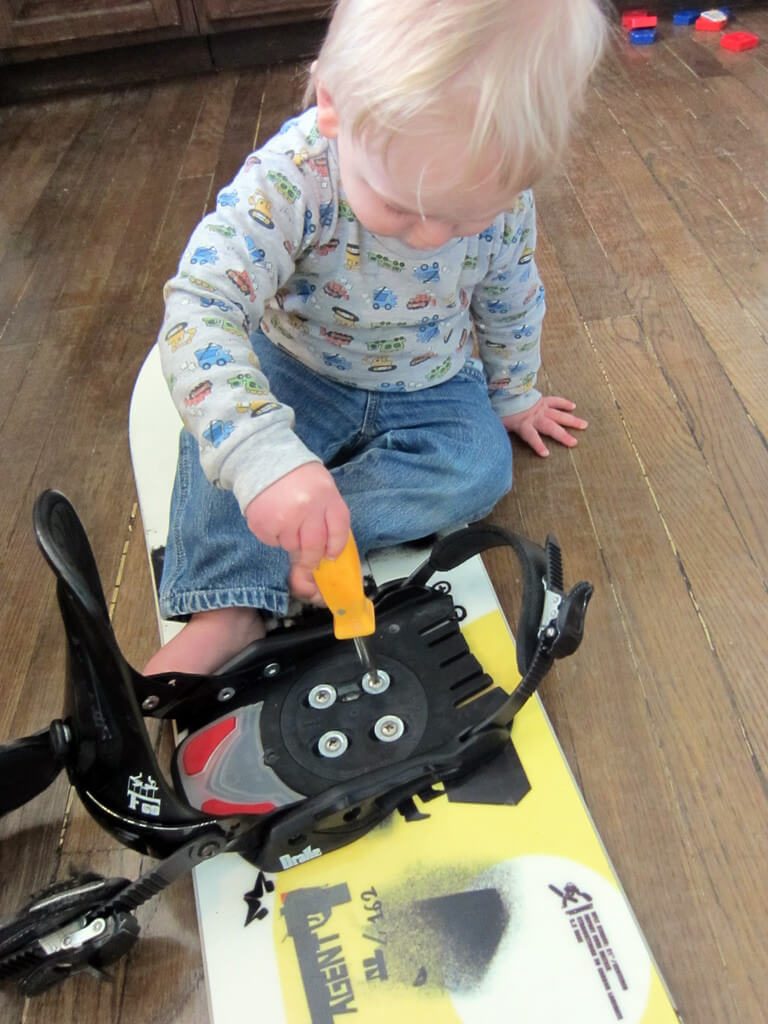
For Snowboards
The final step for snowboards is to remove the bindings from your board. From personal experience, removing them over the summer is a HUGE plus that most people don’t even consider. The temperatures often fluctuate quite a bit and the continued tension of those bindings screwed in will cause your base to get ‘dimples’, leaving less than an ideal base surface.
For Skis
Like your body, your bindings can’t always be in a high state of tension. To relax things, release the tension on all straps and binding springs so they don’t stay compressed all summer long. Adjust ski bindings to the lower end of the DIN but not completely. For alpine bindings, make sure the heel is in the ski position and close the toe pieces to lessen the load on the springs.
Step 6: Check Those Boots
With the board/skis and bindings in good shape, it’s now time to put a little attention into your ski boots and/or snowboard boots. Take out the liners and stuff a dryer sheet into each one as well as in the boot itself. These dryer sheets will absorb all the funk from an entire season’s shredding. After a couple of days of drying out, throw away the dryer sheets and put the liners back in. Don’t forget to tighten your boots back up. This will make sure the liners and boots keep their shape for next year.
Step 7: Outerwear
The last and final step is to see how your coat and pants look. Are they in decent shape? Can they still repel water or are you more like a drowned rat on a wet snow day? If they don’t repel water or are just plain grimy from the season, go out and buy a tech-wash and water-proof agent. You can launder your gear right at home in your washing machine and revive your outwear for another season. We’ll be honest… on our last day of the season, our ski jackets look as if we’ve been hugging trees all season long. On top of it, they’ve lost their ability to shed that wet snow. It’s become an annual tradition to do this every spring.
Don’t Forget The Gloves
If you thought our jackets and pants look bad, you’ll hate how our gloves and mittens look. There’s a few ways to freshen up for next season. It all depends on the material they’re made of. If you’re rocking a pair of leather gloves like Kincos, consider baking them with some Sno-Seal. For other fabrics or hybrids, you may want to use Nikwax’s Gloveproof.
Fix ‘Em
If you love your ski jacket or snowboard pants but they’re ripped, don’t just throw them out. Instead, consider getting them fixed by a professional seamstress. I have a pair of spring skiing pants that have so many ventilation zippers that I just can’t do without them. They’ve taken a beating but instead of throwing them away and getting a new pair, I bring them to our local magical seamstress, the Stitch Witch. She’s been worth every penny.
Step 8: Choosing Summer Storage
All your ski gear is cleaned, waterproofed, and ready for summer storage. The question is WHERE should you be storing skis and snowboards? The worst place is somewhere that gets ultra hot like a rooftop box or an attic. We actually had a pair of snowboard boots peel apart at the sole from the heat. Instead, find a cool, dry place. This could be a guest closet. Maybe a basement or even a corner of the garage.
Outerwear, Goggles, And Gloves
This isn’t necessary but we’ve noticed that every fall when we’re getting ready for the season, we can’t find something. Maybe it’s a glove, a pair of socks, or our neckwarmer. It’s never the big things. To reduce this stress in the fall, we try to take out all our gear and organize. Don’t separate your gear but rather set aside a place where EVERYTHING will be stored. We have labeled totes and bins we keep everything in.
Like many of you, we don’t like saying goodbye to skiing & snowboarding, always trying to push our season to the limit. When it does end, be sure to follow these steps on how to store skis and snowboards so when next season comes around… Simply scrape, get dressed, and go!
And if you’re in the market for a new pair of goggles, boots, or just want to do some research on what is a good pair of skis or snowboard, be sure to visit our Skiing & Snowboarding Gear homepage.

You are telling people to take the bindings off their skis????
Hey Vinnie,
Good eye! Just fixed it. Didn’t even realize that those two steps were written in a funky way. First step was for snowboarders and second one is for skiers. Good catch and thank you for calling it out. 🙂