Like all things in nature, snow can be beautiful or it can be a dangerous recipe that could kill you. In Part 3 of our Back to School series, we covered the types of avalanches and how they’re classified. For the final chapter, we will take a closer look at avalanche slope angle, the type of terrain to look out for, and how to choose where to ski or snowboard. This is NOT meant to be a crash course to get into the backcountry, but rather it’s to get you interested in learning more. To really get into backcountry skiing safely, we highly recommend you signing up for an AIARE Level 1 course or if you can’t find a class that isn’t sold out, at a minimum check out an online avalanche course.
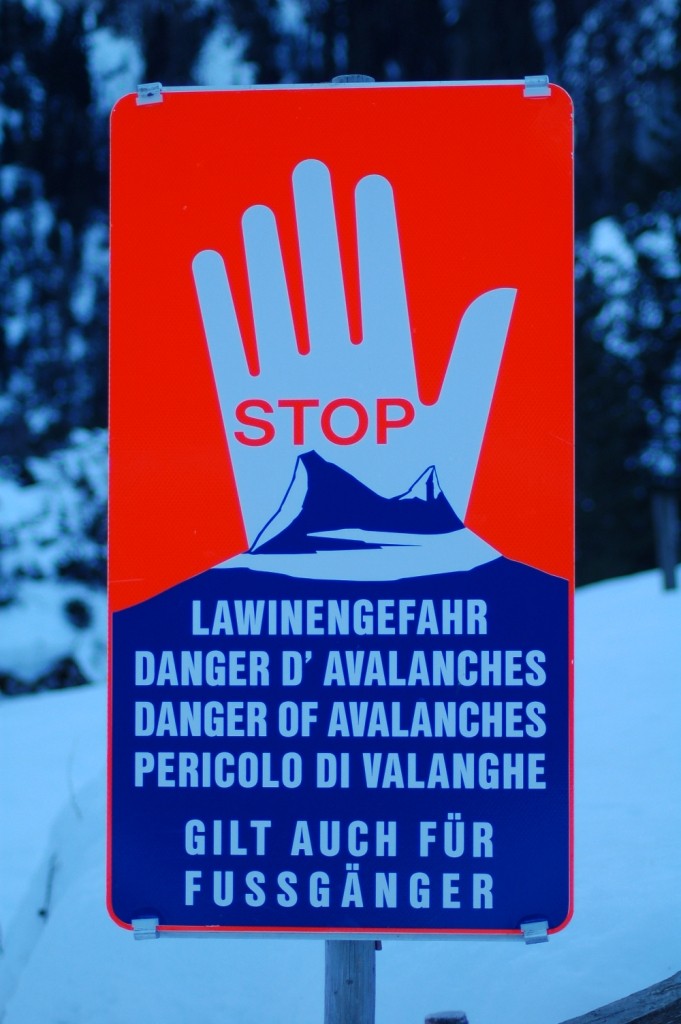
Now to get into the snowflakes and crystals of classifying avalanches. There are two major delineations used to describe an avalanche:
-
- Relative path
- Destructive potential
Both of these systems use a scale of five, but they measure different factors. When these two observations are combined, they help diagnose an avalanche.
How Big Is That Avalanche?
Relative to Path is the system that describes the size of the avalanche in relation to the terrain feature or path where it occurred. It’s very useful for comparing events over time in the same known location. Previous avalanche activity plays a big part in determining where it’s safe to ride. Knowing what has avalanched is important information when trying to determine current conditions. The scale indicates what part of the terrain slid relative to the full potential of that area.
- R1: Very Small 0 – 20%
- R2: Small 21 – 40%
- R3: Medium 41 – 60%
- R4: Large 61 – 80%
- R5: Major or Max 81 – 100%
Relative path ranking doesn’t help as much when the area isn’t known to all parties. It’s like telling someone that a method off a cliff is huge without providing the fact that the cliff is fifty feet tall. Providing context of the size of the avalanche by giving path dimensions helps give a clearer picture of the actual magnitude of the event when only using size classification.
How Damaging Was It?
We’ve all seen those movies where an avalanche takes out a grove of trees, but how would you determine the severity of that avalanche? The second classification helps answer that. It’s called Destructive Potential, and it takes into account the speed, mass, and terrain to define just how big it really was. As discussed, all avalanches are dangerous, but this provides a way to gauge how dangerous a slide was.
- D1: Too Small to injure or bury a person
- D2: Could bury, injure, or kill a person
- D3: Could bury or destroy a car, damage a vehicle, destroy a small building, or break a few trees
- D4: Could destroy a vehicle, railway car, several buildings, or forest up to 10 acres
- D5: Could destroy a village or forest of 100 acres or more
This ranking is useful when discussing unique avalanche events in different locations. All parties can imagine the size based on the potential damage done. It is less useful in the same location, because a prior event would have already affected the terrain and would make it difficult to classify using only this scale.
So Where Can An Avalanche Happen?
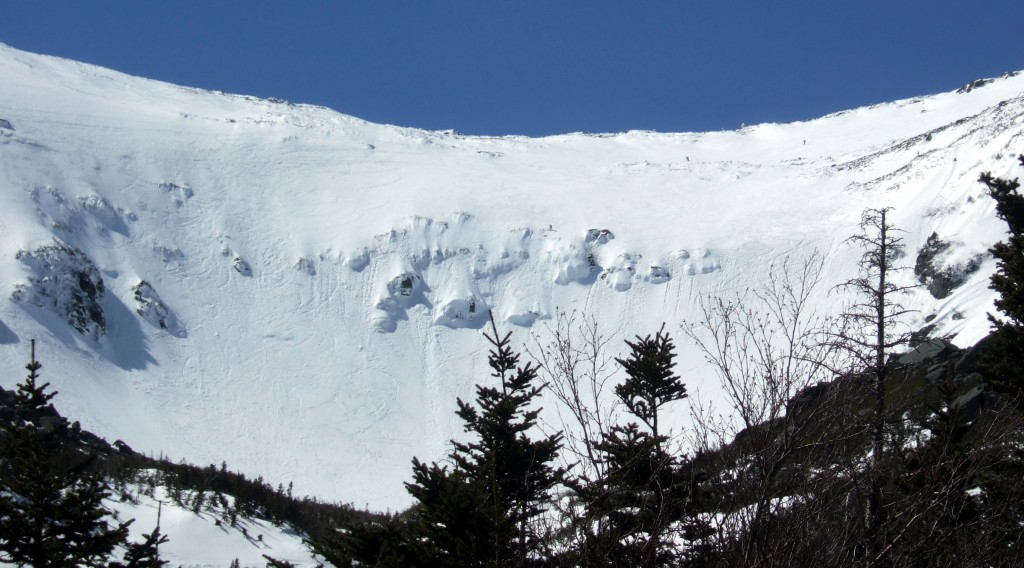
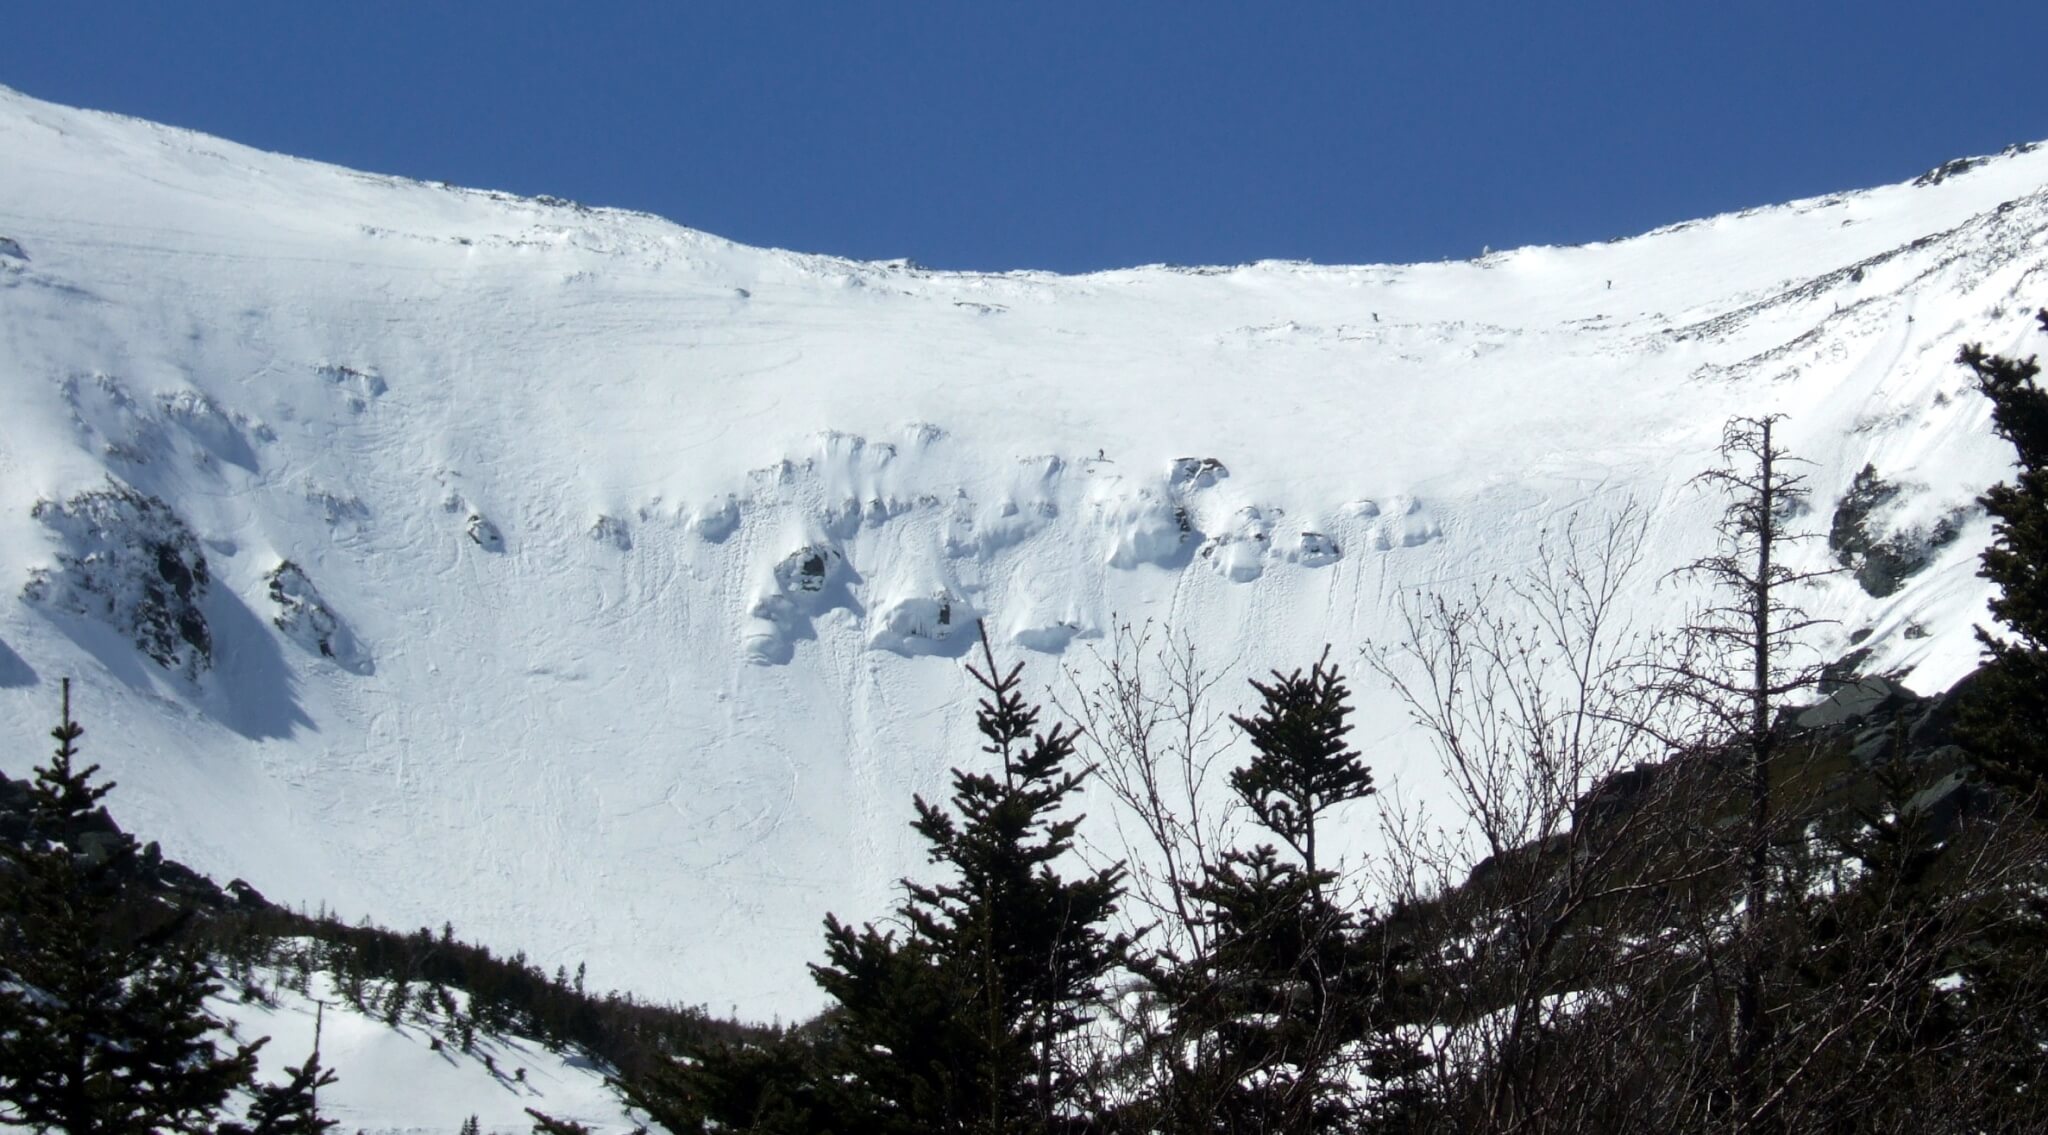
They can occur on any snow-covered slope with a steepness of greater than 25%. Once the snow begins to move, it is like a liquid and follows the fall line of the mountain. This potential path the avalanche could take can put users in danger of being hit. Within the equation of how safe it is to ski or snowboard the terrain, it is the only relatively stable part. All other factors when trying to minimize the risk in the backcountry are continually changing. Observations that need to be made are identifying:
- Safe zones
- Prior avalanche paths
- Slope characteristics
Safe Zones – Where You Should Be When An Avalanche Happens
These are areas outside the avalanche path that are like islands of safety, if mayhem and chaos occur.
Examples of safe zones include:
- Ridges, with no snow covered slopes above
- Dense forest
- An area well outside the run out
- Slopes less than 25 degrees in steepness with no steeper slopes overhead; anything steeper can be considered an avalanche slope angle
Prior Avalanche Paths
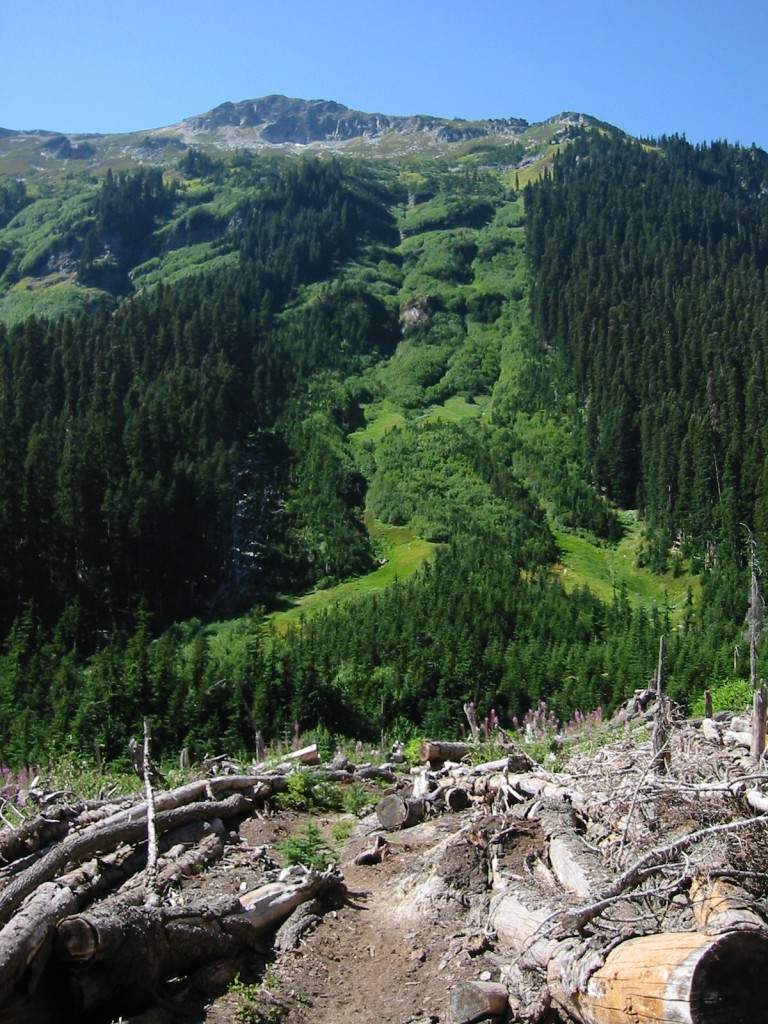
Simply put, this is where avalanches have occurred in the past. Three things to look for are the start zone, track, and run out. Not all avalanches have a distinguishably defined path. If you’re unable to locate the classic avalanche path, there are still signs you can look for to determine avalanche terrain. Two reliable indicators are vegetation and debris.
When prior slides have run through vegetation, there are telltale signs that can be identified.
Obvious clues are:
- Unexplained clearings
- Broken trees at a certain height
- Trees broken at ground level
- Branches missing on the uphill side
- Smaller trees are missing
- Less dense tree coverage
Avalanche debris is a no brainer. If you see signs of a prior slide, you know this is an avalanche path. Fresh debris is easy to spot, but older debris can be tougher.
Look for:
- Blocks or chunky snow
- Snow piles
- Uneven snow
- Ribs or runnels
- Snow sticking to the uphill side of obstacles such as trees and rocks
How Can I Tell If The Slope Is Dangerous?

Courtesy of CAIA
Understanding and evaluating avalanche terrain is pretty simple, and the basics are easy to grasp and apply. The real challenge though is understanding how the terrain influences the snowpack. This will in fact take years of practice to master, but here are the basic concepts to observe when snowboarding or skiing around:
Location of Slope
This is critical to understand because weather patterns tend to come into a mountain range from a certain direction. Knowing this will help you understand where there is a deeper snowpack. The side the storm hits first normally has a larger deposit of snow.
Slope Elevation
It’s no surprise that higher elevations generally receive more snow or precipitation. When heading out into the backcountry, knowing the elevation of the terrain you plan to travel is important. Then you are prepared and understand what observations need to be made to identify potential avalanche terrain.
Aspect to Wind
Wind also plays an important role when it comes to snowpack development. When snow falls, it accumulates in certain areas. Even after a storm, wind events can occur which will then redistribute snow to other locations. Understanding where these locations are can help identify wind loaded slopes, which have a potential to form Wind Slab avalanches. The slope facing the direction the wind is coming from is called the Windward side. The slope protected from the wind is the Leeward side. In a wind event, snow is picked up from the Windward side and deposited on the Leeward side.
Aspect to Sun
Changing temperatures have a huge impact on the snow. The number one cause for fluctuating temperatures is solar radiation. The warmer and sunnier it is, the looser the snow, while colder and cloudier conditions can make the snow firmer.
Slope Angle
Ideal angles to ride, ski or snowmobile are 30 – 45 degrees. Unfortunately, these angles are also true for the perfect avalanche slope angle on where they’re triggered. This is where most human triggered avalanches occur. To help understand these angles, below is a list of ski resort designations that will assist when evaluating slope angle.
- 0 – 25 degrees: Green Slopes
- 25 – 30 degrees: Blue Slopes
- 30 – 35 degrees: Black Diamonds
- 35 – 45 degrees: Double Black Diamonds
- 45 – 55 degrees: Cliffs and Couloirs
- 55 degrees +: Alpine Climbing Terrain
Trigger Points
This refers to the spot in the snow where the fracture begins, which leads to avalanche propagation. They occur where a concentrated strain is put on a weak layer in the snowpack. The AIARE Level 1 handbook says to think of trigger points as land mines where avalanches tend to be set off.
Trigger Points to avoid:
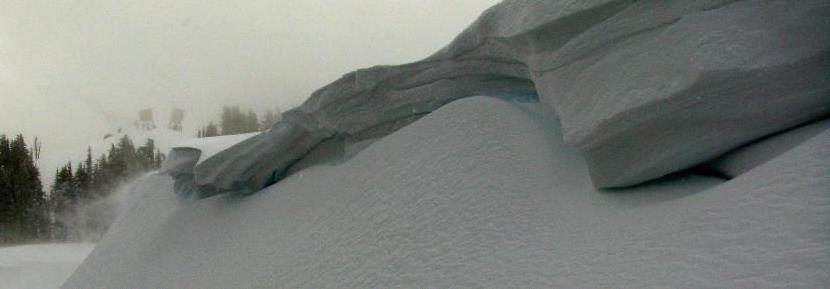
Courtesy – Tahoe Mountain School
- Convex rollovers
- Protruding objects
- Shallow snow above buried objects (such as rocks)
- Below cliffs
- Below cornices
Safety in the backcountry takes many outings and years to master. From this series, hopefully you gained enough information to know you need to learn more! If you’re curious about what kind of gear you need, tips on how travel safely in the wilderness, or want to read about our personal adventures, visit our homepage for All Things Splitboarding & Backcountry Skiing.





One thought on “Why Avalanches Happen From Avalanche Slope Angle To Trigger Points”