We get “geeked” when our readers reach out and interact with us. From giving us tips from their own experiences to asking questions, we’re humbled that you took time out of your day to interact with our cozy corner of the inter-webs. It’s been a long time coming, but a few of our loyal readers suggested that we write an article on snowboard binding setup and so here we go.
Learn From Our Mistakes
Over the past three plus decades, we’ve talked to a lot of shop techs and learned a few things from our own trial and error. Does anyone remember base-less bindings? The goal here is to make sure you can learn from our mistakes and knowledge to save yourself from pain and headaches in the future when you do your snowboard binding setup.
Finding Your Stance:
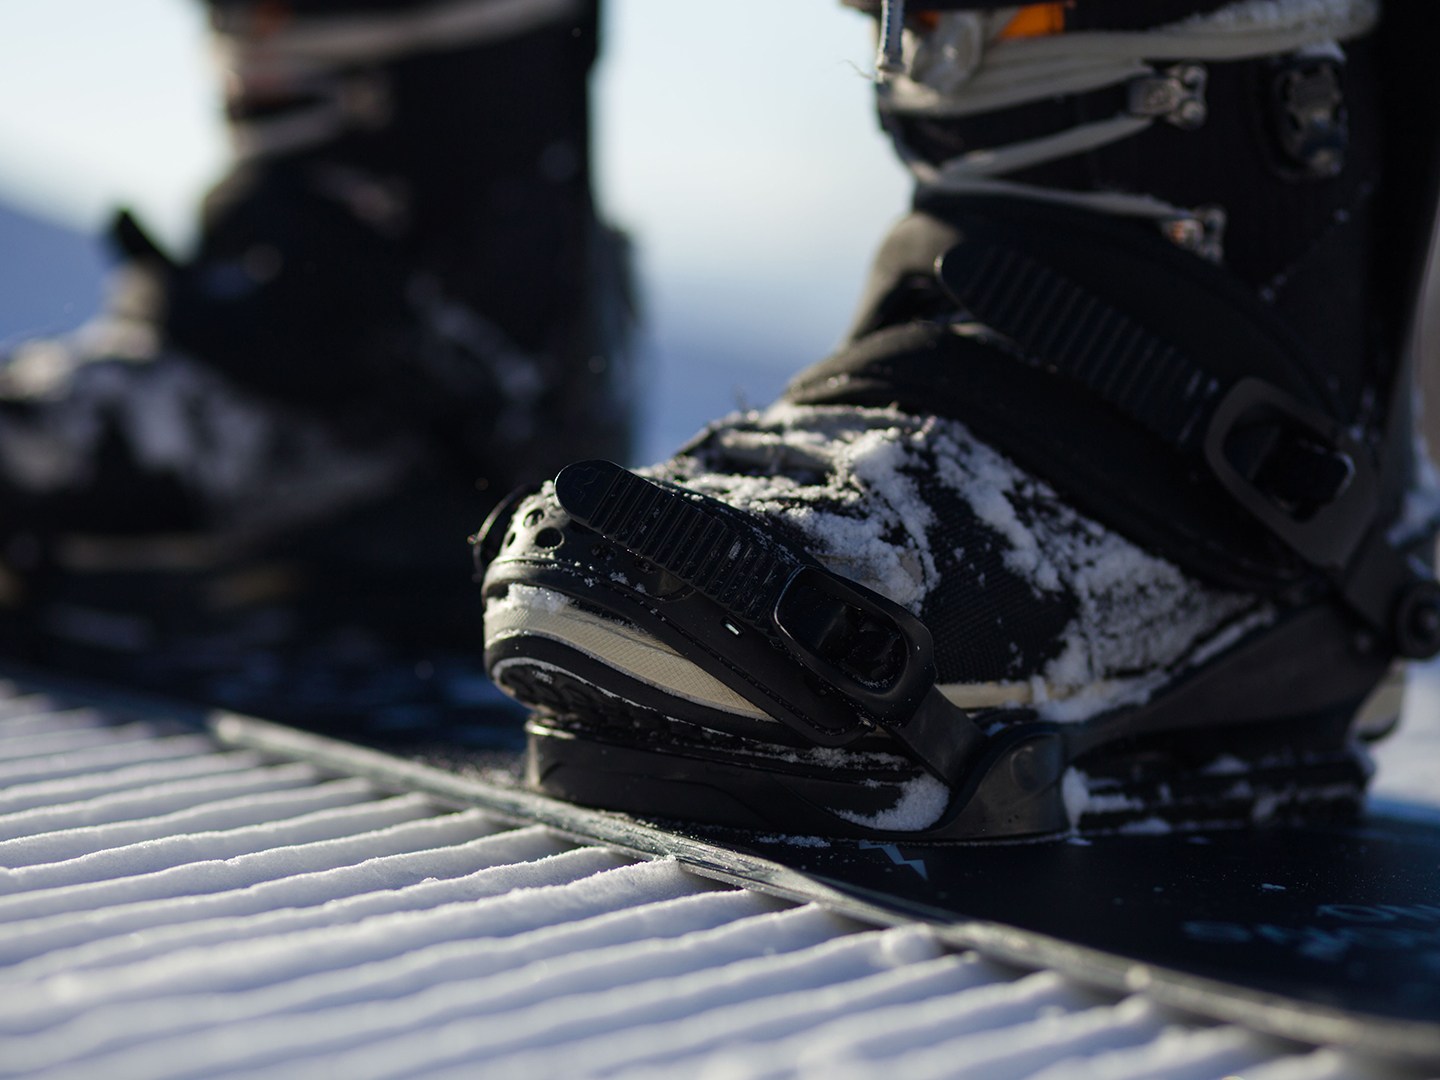
The shocking thing is when I ask friends what their stance is many don’t have a clue. It’s a good idea to know so that if you switch up your boards or take off the bindings for some reason, you don’t forget. There are three major pieces of criteria that go into your stance – which foot forward, width, and binding angles. We go through each in detail to help you figure out your best stance.
Goofy or Regular?

When we talk about snowboard shapes, nearly every type except for true twins have one side of the board that you can differentiate as a nose and another as the tail. The first thing to figure out is if you’re goofy footed (right foot forward) or regular (left foot forward). If you’ve skateboarded or surfed, then you should apply the same philosophy to snowboarding. First time standing sideways? Another aspect to consider is typically your dominant foot is the one on the back while the front one is focused on balance and direction. Using this rule, being a lefty I should then be a goofy rider and my wife a regular rider. Instead, we’re the opposite. She rides goofy and I regular.
Personally, the anecdote I’ve heard over the years in shops may be a better way to figure it out:
When you run and slide on a slippery surface like a kitchen floor or a sheet of ice, whichever foot leads will be your front foot.
Choosing a Stance Width

Now that you have an inkling if you’re goofy or regular, let’s focus on how wide a stance you should rock. A good place to start is to be a little bit wider than your shoulders. You’ll feel stable and generate enough power to pop over obstacles.
For those that have an engineering mindset, I’ve heard a few different ways to figure out your stance. Some suggest it should be the distance between the middle of the kneecap to the ground. Others say it’s based on your height:
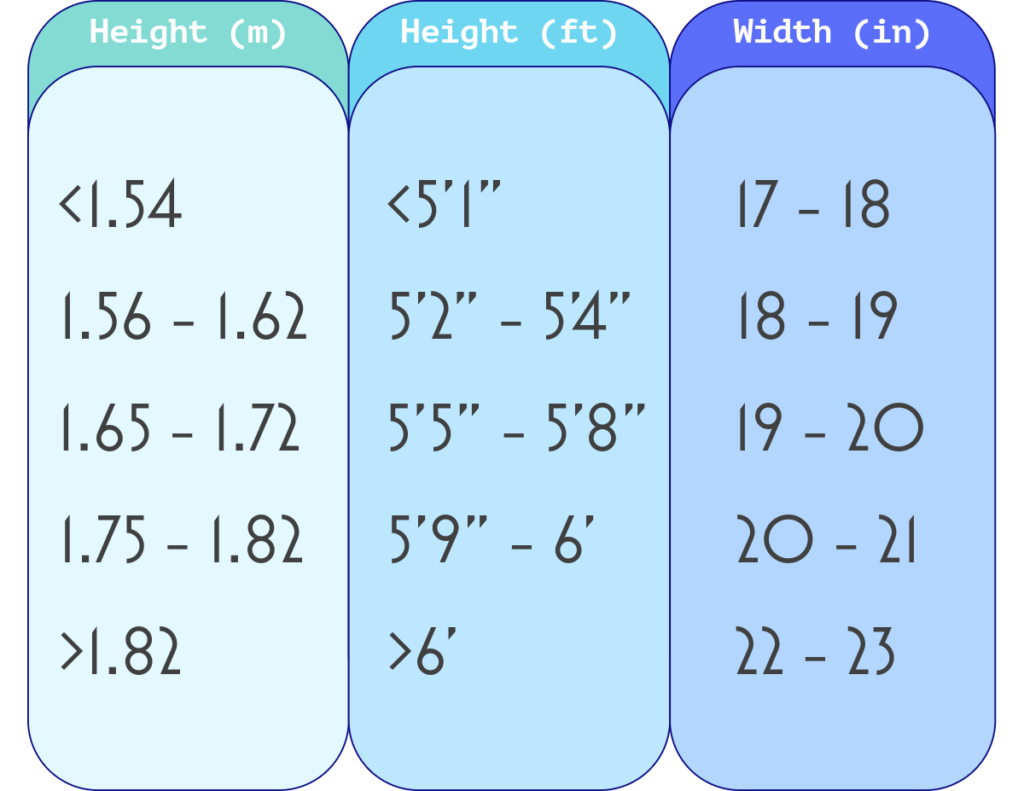
Lock In Your Angles: Ride Your Way
Next is how you setup your feet, specifically the angles. Out of all the stance criteria, this is by far the most personal. If you lay your snowboard down and setup the binding to be EXACTLY perpendicular to the length of it, that’s considered “zero” degrees. When the binding points towards the nose, that’s a positive angle, and if it’s turned to the tail, then it’s a negative angle. Snowboard binding plates are designed in a way that they can increment by 3 degrees.
Figuring Out the Binding Angles
Most riders we’ve spoken to choose to set their front foot somewhere between +27 and +15. And for their back foot, +6 to -15. Figuring out where to start depends on your riding style and what you’ll be hitting.
Duck Stance – Freestyle Assassins

If you see someone has it set to +18 and -12 then this is what you call a duck stance. This is a great option if you like to hit a lot of park. When you ride switch (i.e. backwards), this ambidextrous setup makes it easier to turn since the back foot is pointed outwards. For the back foot, we wouldn’t go past -21 degrees. More on why under the injury section.
Power Baby – Free-Riders Unite
Growing up in the Midwest, my buddies and I used to call the positive on both feet “power” stances. These angles naturally helped you carve a tight turn on heel-side or toe-side. For example, a +21 in the front and a +9 on the back. Since most days in my youth were spent in the park, I rarely rode this stance since it makes riding switch a bit more challenging.
Hybrid – Taking All Comers
In between the park rats and Euro-carve fanatics you have the in-between stances. This could be where you set up the front foot to be a little more angled such as +21. And on the back only a slight duck-foot like -3.
Personal Preference Rules: Your Stance, Your Ride
At 6’3, I started with a 21.75-inch-wide stance and gradually widened it as my hip flexibility improved. Now I ride at 23 inches, with +21 in the front and -12 in the back. Jaime, at 5’4, rides a 21.5-inch stance with +18 in the front and -12 in the back. The takeaway? Stance is personal it’s all about what feels right.
I’m still fine-tuning my bindings in small increments to stay balanced. On spring days ripping corn snow, I might set +21 in the front and +6 in the back to really lean into turns. These days, I mostly stick with a hybrid stance at +21 front and -12 back, which feels comfortable for my back and mimics the position I use for deep squats in the gym.
Where to Place the Bindings: Centered, Setback, and Asymmetrical Explained
Now that you have an idea on how to figure out your stance, it’s time to talk about WHERE to place the bindings on a snowboard. This is less about preference and more about what the snowboard is specifically designed for.
Centered Versus Setback
In the universe of snowboard shapes, there is A LOT of variety (i.e. volume shifted, directional tapered). But when you boil them down to mounting bindings, there are two basic kinds – centered or setback. Centered is when the bindings should be set in the exact middle of the snowboard. Setback is when the snowboard is designed with a bigger nose (to help float in powder) and the binding are “set back” towards the tail a bit. You should never have the bindings mounted closer to the nose.
Why is it Important to Follow Manufacturer’s Recommendations
A lot of R&D is put into snowboards to make sure they ride well for you. From how it flexes to the way it floats in deep snow, it all comes down to where they expect you to place the bindings. For example, a Jamie Lynn – Lib-Tech board is designed to have the bindings setback 1.5 inches. If you mount your bindings as centered, you’ll make it more difficult to engage turns.
Asymmetrical Snowboards
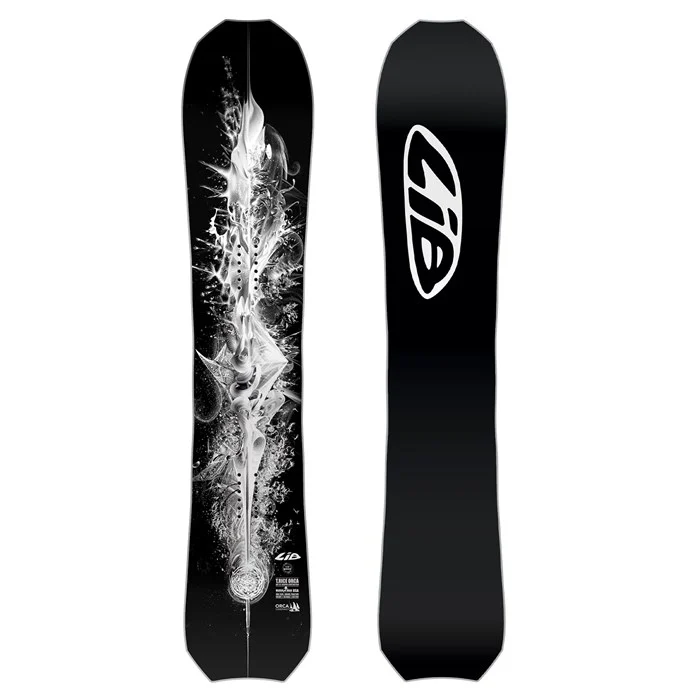
Speaking of research, a ton of science has gone into how we go into heel-side turns and toe-side turns. Many snowboard designers have now taken this into account and have come out with asymmetrical snowboards such as the T. Rice Orca. For most riders, the heel side is more difficult to turn sharply than toe-side. To overcome this issue, asymmetrical snowboards have a deeper side-cut to help you with tighter turns and better maneuverability. It also helps with balance. These types of snowboards normally have it marked on the board to make sure you mount the heel side of the binding on the appropriate side.
Mounting the Bindings: Getting Your Board Dialed

Now that you know where you want your bindings, it’s time to actually mount them on the board. Most snowboards use the standard 4×4 mounting system, that classic square pattern you’ve seen a million times.
But then there’s Burton, the Apple of the snowboard world. Just like a Mac only runs Mac OS, Burton has its own binding systems. Back in the 90s, they had the 3D system to cut weight. Today, it’s all about EST, which you can see in the picture above. Think of it as a channel system that gives you nearly infinite options for binding placement.
Good news: if you’ve got a Burton Snowboard, most binding brands including Union make versions that work with all systems, from Burton’s channels to the old 3D setup. And if you want to stick with Burton bindings, you can still grab ones that fit the standard 4×4 system too.
Toe Edge / Heel Edge
The goal is to have your body as centered as possible. All binding plates allow you to adjust them so that you can move them back towards the heel-edge or forward to the toe-edge. The general rule is to mount the binding in the center but there are of course exceptions.
For example, if you have a bigger boot and ride a regular sized board, you may want to mount them closer to the heel edge. This ensures you don’t get toe-drag on a toe-side turn. And if you have a smaller boot size, you’d want to have it closer to the toe edge. When I mount a friend’s board for the first time, I usually strap in their boots to give me an idea where the center of the boot is.
Toe Ramp & Foot Bed
After you’ve mocked up the width, stance angles, and where to place the bindings, the final snowboard binding setup adjustment before tightening them is to set the toe ramp / foot bed. This is the part of the binding you’ll be stepping on. You want the sole of it to match as closely as possible to your boot with minimal overhang. Nearly every binding I’ve seen allows you to expand or contract depending on the size of the boots you’re rocking. When you set this correctly, you ensure that you are maximizing the power applied into your toe edge.
High-Backs, Forward Lean, and Straps: Fine-Tuning Your Ride
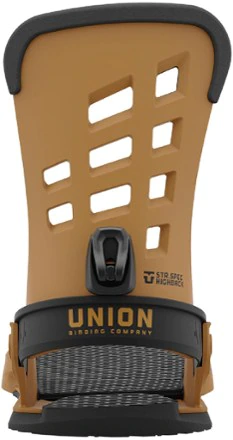
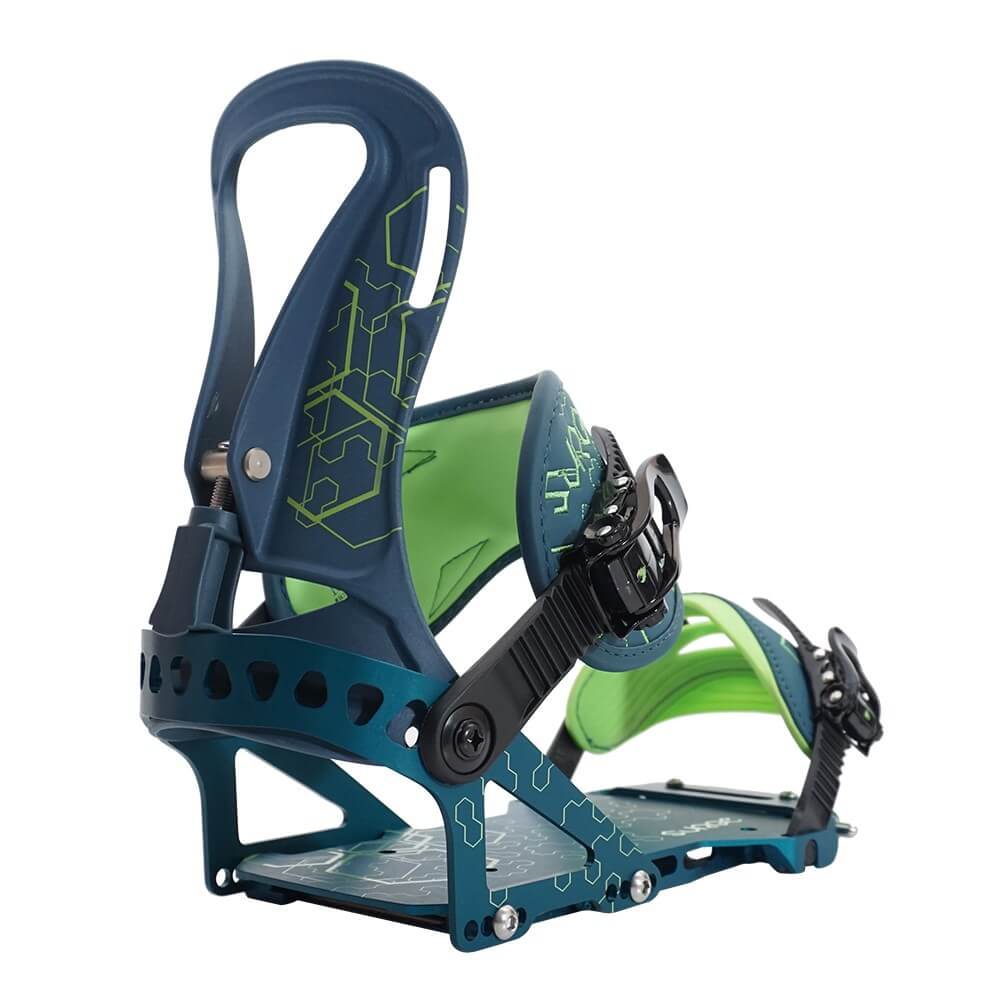
As you would assume, the vertical piece that rises from the back of the binding is called a “High-Back.” In the 90’s, a few companies actually sold what were called “low-backs.” I remember trying a pair and boy were they fun in the park and doing “jibby” things but were terrible outside of anything else. In today’s world, nearly every company sells only High-Backs.
High-Back Adjustment
The heel cup has two screws, one on each side that allows you to tweak the High-Back. The goal is to have the High-Backs run as parallel to the heel edge as possible. Certain binding High-Backs are a bit stiffer so it won’t be perfect. This adjustment helps improve comfort and responsiveness when you engage a heel-turn.
Forward Lean Adjustment
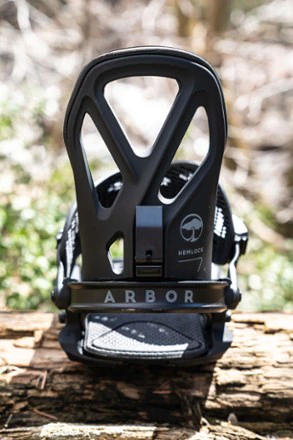
Another adjustment you can make is on the back of the Heel-cup. This lever is called the Forward Lean Adjustment. Tilting your High-Back towards the toe edge will improve responsiveness on heel-side turns. Even so, technology has come a LONG way when it comes to snowboard boots where they already have a bit of natural lean built into them helping you engage the heel-side turn. Personally, since I grew up in the 90s using snowboard boots that had about as much structure as a pair of goulashes, I crank this like nobody’s business with max forward lean.
Strap Adjustment
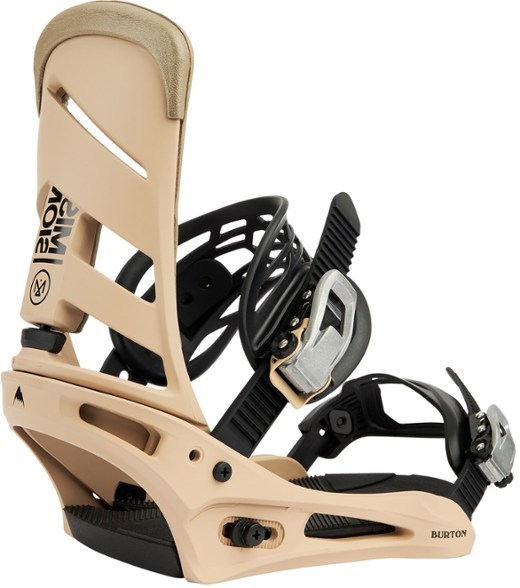
Last but not least, you need to get the straps set perfectly. The ankle strap should come over the center of the boot once you’ve ratcheted in tightly. If you can’t even engage the ratchet, then adjust appropriately. This is similar to the toe strap as well. Make sure that it’s aligned to your boot. Be aware that some toe straps clip on top and while most others out their cup the front of your boot helping it push into the heel-cup as snugly as possible.
Preventing Injuries
We can’t reiterate this enough. Your knees should NOT hurt when you’re snowboarding. Bring a screwdriver with you and continue to adjust the bindings on the hill. Just like all sports, having the equipment fit you correctly will reduce your chance of getting hurt. Loose boots and incorrect snowboard binding setup can cause more damage than anything.
Is There a Perfect Stance to Prevent Injury?
We aren’t the experts on this, but I remember asking a friend who was a physical therapist and snowboarder if there’s a “bad” stance. His Answer? It depends. Zero – Zero was by far the worst option in his mind because your natural inclination is to look down the mountain. You’d then have the tendency to twist at your knees. In that same philosophy, in the duck stance the back foot may have additional pressure put on it if you are twisting the knee forward. For many, the “power” stance as we talked above may be the safest on the knees but it all comes down to what makes you feel comfortable.
What We Ride
At 6’3, I started at a 21.75-inch-wide stance and have slowly gone wider as my flexibility in my hips has improved. Now I’m at 23 inches wide and have my feet set +21 in the front and -12 in the back. Jaime, on the other hand, at 5’4 rides at an impressive 21.5 inch wide stance and +18 in the front and -12 in the back. In summary, snowboard stance comes down to personal preference.


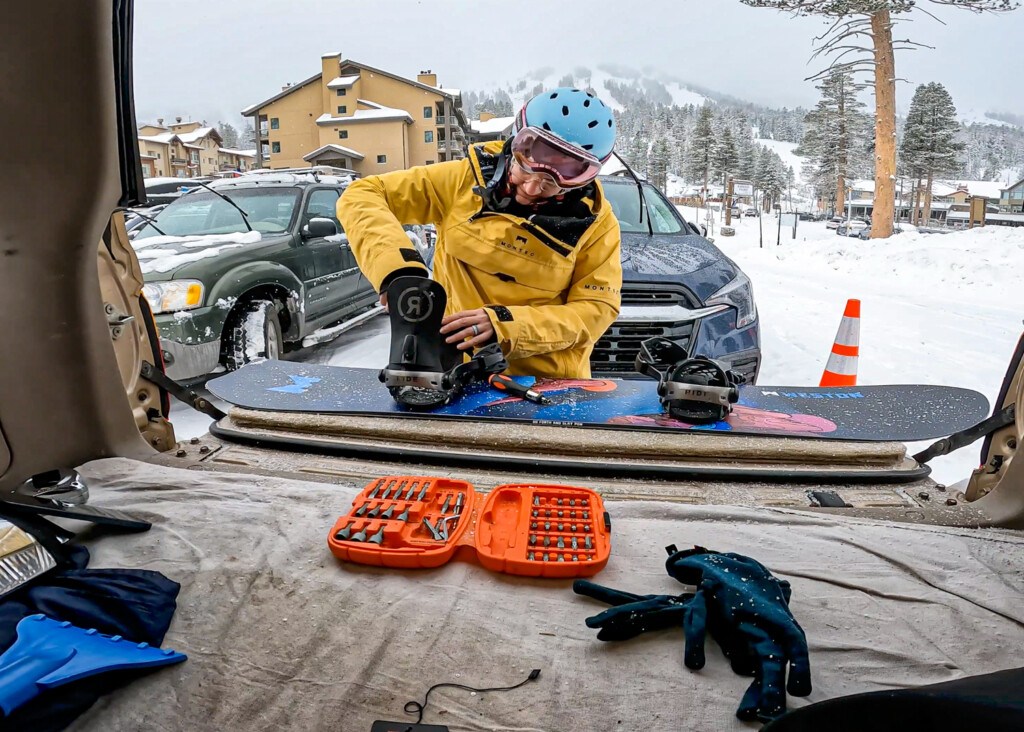
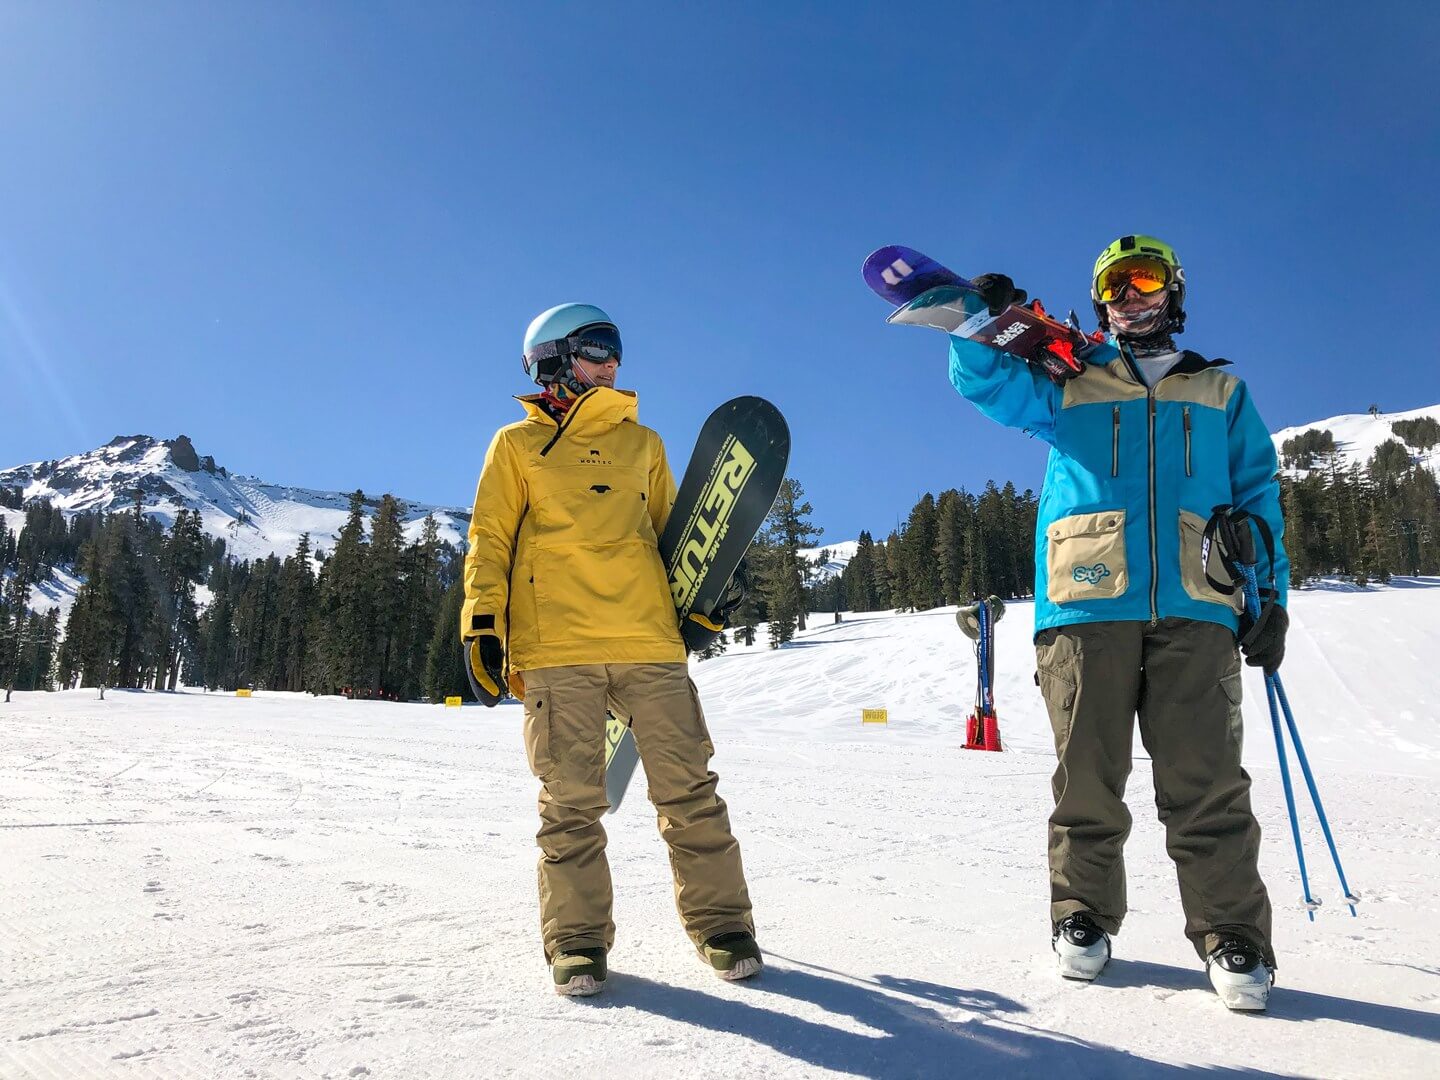



I’m 6’1″ have a 21.75″ stance centered with a +3 left and +12 right (goofy) after 10 years I’ve found this to be a good natural line for the motor mechanics of my knees to face similar ways as they bend. I can really tell the next day after a long sech.
Getting that stance dialed is critical. It’s interesting how everyone’s motor mechanics is a bit different. For us, having a positive stance in the back works really well in most conditions except for deep pow days. Rather the duck makes it feel like we can adjust quickly to what’s in front of us. Curious, what your experience is on those bottomless days.
Started in 1992 aged 25 so I skied before for 3 years but got bored.
I learnt on a rented K2 FATBOB and some kind of ski bindings with boots but I was hooked.
Fast forward 30 years and about 40 weeks boarding still goofy, size UK 11 Boot, 5’10”, 105 kg plus clothes body armour and avalanche backpack, I’ve tried narrow and wide stance set ups now I measure from my foot sole to the top of my bent knee.
Anglewise I prefer about 20deg + on the front and 0deg on the back. Mostly because I ride powder and piste as my body is too old for the park and break.
I have had my Burton Supermodel 181 since 2003 so mostly for POW days and a 2006/7 F2 Eliminatior LTD 167 omnidirectional for piste. Just bought the Burton Step-on set up and will be hitting the slopes for Easter 2022. Will be posting up on social media comments about the Burton set up.
It takes trials & time fir new riders to set up comfortably. Standard forward angling of both feet is logical until the rider finders their board persona. If they’re a speed & carving master they’ll angle more forward. If a park rider, air player, trickster that goes switch a lot they’ll usually go more duck feet.
But many freestylers point forward & some carvers are more standard. It’s easy to guess but lots of issues matter as board shape, flexibility, camber vs rocker, location, ie mountain range, hard pack vs powder conditions, notwithstanding someone’s attitude.
Even aggression itself can be segmented as in aggressive speed & hard angles vs aggressive tricks in a park. Or relaxed carvers who stay planted vs relaxed air hounds that have no fear of heights. Overall one’s attitude may be underestimated in how much it dictates one’s riding style. For new riders that needs to be zero’d in on to find specifics like stance, width, board & boot type & especially mountains & trails ridden. Riding style evolves. Sometimes quick but over time it gets dialed in. As will your set up stats.
If you test somebody who does not know if they are Goofy or regular, usually this works: have em to stand in front of you with feet in comfortable spread position width about 1.5 feet. And then face away from you as you get behind them. Tell them to look forward as they don’t know what you’re about to do. Then, with a sharp shove push them evenly forward. Usually their 1st step to prevent them from falling is their front foot. You can also have them get on a two wheeled bicycle. She was foot they heard it with first. Left would be regular, ripe would be goofy.
Back in the nineties, some companies came out with camber plates for the rear binding. These would act like a kind of skateboard “tail,” allowing you to leverage or press your rear foot into the board and set your rear knee more naturally inward for carving.
Holy moly! I remember low back bindings but camber plates? I’d love to see an example of this. Heck, even the ads in a magazine would be awesome!